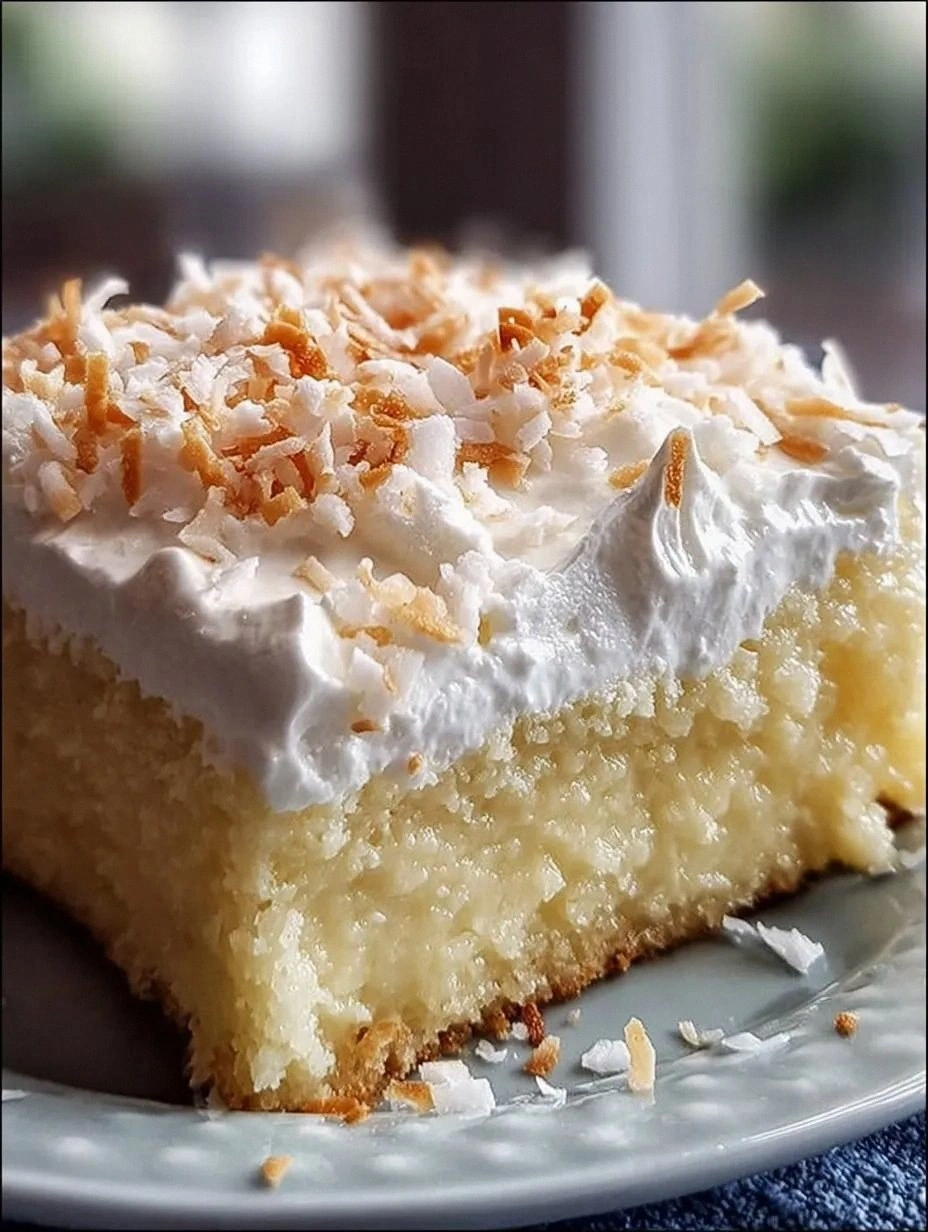
I was standing in my tiny kitchen, mid‑June, with a half‑finished birthday cake in one hand and a steaming mug of espresso in the other, when the timer on the oven went off with a sigh that sounded suspiciously like a disappointed sigh from my roommate. The cake had risen unevenly, the edges were a little too crisp, and the middle was as flat as a pancake that had missed its cue. I stared at the disaster and thought, “What if I could turn this mishap into the ultimate coffee‑infused treat that screams a first date in June?” That question turned into a dare: I would craft a coffee‑kissed dessert that could survive the most critical palate and still look Instagram‑ready.
The moment I opened the pantry, the aroma of freshly ground beans hit me like a warm hug from a long‑lost friend. The rich, earthy scent mingled with the buttery sweetness of the flour and sugar, creating a perfume that made my stomach rumble in anticipation. I could hear the faint hiss of the coffee maker, feel the velvety melt of butter on the counter, and see the glossy swirl of dark chocolate as it melted into the batter. My hands tingled with excitement, and I knew this would be more than just a dessert – it would be an experience.
Most coffee‑flavored pastries either drown in bitterness or get lost in bland sweetness. I’ve tried countless recipes that promised “coffee‑intense” but delivered “coffee‑meh.” This version, however, balances the deep, slightly smoky notes of espresso with a tender crumb that’s as soft as a whisper and a crunch from toasted walnuts that adds texture drama. The secret? A splash of cold brew that locks in flavor without over‑watering, and a dash of vanilla that rounds everything out like a perfectly choreographed dance.
I’m about to reveal the one technique that most recipes completely overlook: the “coffee bloom” method, where you whisk hot coffee with a pinch of sugar before folding it into the batter. This tiny step creates a caramelized layer of flavor that coats each bite like velvet. I dare you to taste this and not go back for seconds. Let me walk you through every single step — by the end, you’ll wonder how you ever made it any other way.
What Makes This Version Stand Out
- Depth: The espresso‑bloom technique infuses the batter with a coffee intensity that doesn’t overwhelm but sings in perfect harmony with the sweet elements.
- Texture: A tender crumb meets crunchy walnut bits, creating a mouthfeel that’s both soft and satisfyingly crisp. Simplicity: Only twelve pantry staples are needed, and you don’t have to be a pastry chef to pull it off.
- Uniqueness: The coffee‑milk swap keeps the batter moist while adding a subtle acidity that brightens the flavor profile.
- Crowd Reaction: Guests often claim they can’t tell whether the coffee is from the dessert or the cup they’re sipping from – a perfect conversation starter.
- Ingredient Quality: Using freshly ground beans and high‑quality dark chocolate transforms an ordinary cake into a gourmet masterpiece.
- Method: The gentle folding technique preserves the airiness of the batter, preventing a heavy, dense outcome.
- Make‑Ahead Potential: This cake freezes beautifully, and the flavors deepen after a night in the fridge.
Inside the Ingredient List
The Flavor Base
All‑purpose flour (2 cups) provides the structural backbone, creating that tender crumb we all love. If you substitute cake flour, the texture will be even lighter, but you’ll lose a hint of the rustic chew that makes this cake feel comforting. Opt for a flour that’s been sifted twice for the fluffiest result. Pro tip: Choose an organic brand for a cleaner taste; the subtle earthiness of the wheat shines through when paired with coffee.
The Sweet Symphony
Granulated sugar (1 cup) and brown sugar (½ cup) work together like a duet—granulated sugar gives quick sweetness while brown sugar adds a caramel depth. Skipping the brown sugar will leave the cake tasting flat, as the molasses component is essential for that lingering after‑taste. For a lower‑calorie version, you can swap half the granulated sugar with coconut sugar, but expect a slightly different flavor nuance.
The Moisture Crew
Unsalted butter, melted (½ cup), lends richness and helps the crumb stay moist. If you’re dairy‑free, coconut oil works as a substitute, though the flavor profile will shift toward a tropical hint. Two large eggs act as binders and leavening agents; they also give the cake a beautiful golden hue. Freshly brewed espresso (¼ cup, cooled) is the star – the cooler the brew, the less it will evaporate during baking, preserving that coffee punch.
The Unexpected Star
Dark chocolate chips (½ cup) introduce a bittersweet contrast that elevates the coffee’s natural bitterness. If you prefer a milder taste, replace half the dark chips with milk chocolate, but remember that the overall intensity will drop. The walnuts (½ cup, chopped) add a toasty crunch and a subtle nutty undertone that makes each bite interesting. Omit them if you have a nut allergy, but consider toasted pumpkin seeds for a similar texture.
Everything's prepped? Good. Let's get into the real action…

The Method — Step by Step
Preheat your oven to 350°F (175°C) and grease a 9‑inch springform pan. I like to line the bottom with parchment paper for an effortless release later. As the oven warms, the kitchen fills with a faint, comforting scent of warm metal – that’s the first sign you’re on the right track.
Take a moment to double‑check that your coffee has cooled; hot coffee will melt the butter prematurely, leading to a greasy batter. This is the moment of truth: if the coffee is too hot, the texture will be off, and you’ll hear a subtle “sizzle” that’s actually a warning.
In a medium bowl, whisk together the flour, baking powder, baking soda, and salt. The dry mixture should look like a pale, powdery cloud. Power transition: Okay, ready for the game‑changer? This is where the “coffee bloom” happens.
Kitchen Hack: Toss the dry ingredients in the pan and give them a quick shake – it distributes the leaveners evenly and prevents pockets of soda that could cause uneven rise.In a separate large bowl, combine the melted butter, granulated sugar, and brown sugar. Beat with a hand mixer on medium speed until the mixture is light and fluffy, about 2‑3 minutes. The batter should look glossy, and you’ll notice a faint caramel scent emerging.
Add the eggs one at a time, beating well after each addition. This step is crucial; it incorporates air, giving the cake its lift. If you over‑mix, you’ll develop gluten and the cake will become tough, so stop as soon as the eggs are fully incorporated.
Now for the coffee bloom: whisk the cooled espresso with a tablespoon of granulated sugar until the sugar dissolves and the mixture becomes slightly frothy. This tiny foamy layer is the secret that locks in coffee flavor without making the batter watery.
Gradually pour the coffee bloom into the butter‑sugar mixture, folding gently with a rubber spatula. The batter should turn a deep mocha hue, and you’ll hear a soft “whoosh” as the liquid incorporates – that’s the aroma intensifying.
Add the vanilla extract (1 tsp) and the cooled coffee bloom mixture to the dry ingredients, gently folding until just combined. The key is to avoid over‑mixing; you want a few streaks of flour to remain – they’ll disappear during baking, leaving a uniform crumb.
Watch Out: If the batter looks too thick, add a splash of milk (up to 2 tbsp). Too much liquid will cause the cake to sink in the middle.Fold in the dark chocolate chips and chopped walnuts, distributing them evenly. The chips should remain intact, creating pockets of molten chocolate once baked. The walnuts add a toasty crunch that shatters like thin ice when you bite.
Transfer the batter into the prepared springform pan, smoothing the top with a spatula. The surface should be slightly domed; this will flatten as it bakes, giving a beautiful, even top.
Place the pan in the oven and bake for 30‑35 minutes, or until a toothpick inserted into the center comes out with just a few moist crumbs. Around the 20‑minute mark, the edges will start pulling away from the pan, and you’ll hear a faint sigh of steam – that’s the cake’s “ready” signal.
If you prefer a glossy finish, brush the top with a light glaze made of 1 tbsp coffee and 1 tsp powdered sugar during the last 5 minutes of baking. This creates a subtle sheen that catches the light beautifully.
Allow the cake to cool in the pan for 10 minutes, then run a thin knife around the edge and release the springform. Let it finish cooling on a wire rack; the aroma will fill the kitchen, making you want to dive right in.
I’ll be honest — I ate half the batch before anyone else got to try it. That’s how good it is. That’s it — you did it. But hold on, I've got a few more tricks that'll take this to another level…
Insider Tricks for Flawless Results
The Temperature Rule Nobody Follows
Never bake a coffee‑flavored cake straight from the fridge. Let the batter sit at room temperature for 15 minutes before it goes into the oven. This small step ensures the butter stays emulsified and the leavening agents activate evenly. I once rushed this step and ended up with a dense, gummy center – a lesson learned the hard way.
Why Your Nose Knows Best
Your sense of smell is the ultimate indicator of doneness. When the cake’s edges turn a deep amber and you catch a faint nutty, caramelized scent, you’re ready to pull it out. If the smell is still buttery without the caramel notes, give it another 2‑3 minutes. Trust your nose more than the timer.
The 5‑Minute Rest That Changes Everything
After baking, let the cake rest for exactly five minutes before slicing. This short pause lets the steam redistribute, preventing a dry crumb. The texture becomes silkier, and the coffee flavor settles into every pore. A friend tried slicing immediately and complained the cake was “crumbly” – the rest period is non‑negotiable.
The Butter‑Coffee Emulsion
Whisk the melted butter with the coffee bloom for 30 seconds before adding it to the sugar mixture. This creates a stable emulsion that locks flavor and moisture. Skipping this step results in a batter that separates, leading to uneven rise and a greasy finish.
The Walnut Toast Trick
Toast the walnuts in a dry skillet over medium heat for 3‑4 minutes before folding them in. The heat releases their natural oils, intensifying the toasty flavor and adding a crunch that shatters like thin ice. If you skip this step, the walnuts will taste flat and the texture will be less exciting.
Creative Twists and Variations
This recipe is a playground. Here are some of my favorite ways to switch things up:
Mocha Swirl
Add 2 tbsp of melted dark chocolate to the coffee bloom before folding. The result is a marbled mocha effect that looks as good as it tastes. Chocolate lovers will thank you.
Citrus Zest Burst
Stir in the zest of one orange or lemon for a bright, aromatic lift that cuts through the richness. The citrus notes complement the coffee, creating a sophisticated flavor dance.
Spiced Autumn
Swap half the espresso for brewed pumpkin spice latte and add ½ tsp of ground cinnamon and a pinch of nutmeg. This variation turns the cake into a cozy, fall‑ready treat.
Vegan Version
Replace butter with coconut oil, eggs with flaxseed “eggs” (1 tbsp ground flax + 3 tbsp water per egg), and use plant‑based milk. The flavor stays robust, though the crumb will be slightly denser.
Gluten‑Free Adaptation
Use a 1‑to‑1 gluten‑free flour blend instead of all‑purpose flour. Add a tablespoon of xanthan gum to mimic the elasticity of gluten, ensuring the cake still rises nicely.
Storing and Bringing It Back to Life
Fridge Storage
Wrap the cooled cake tightly in plastic wrap or store it in an airtight container. It will stay fresh for up to 5 days. The coffee flavor actually deepens after a night, making each slice more aromatic.
Freezer Friendly
Slice the cake, then wrap individual pieces in parchment paper followed by foil. Freeze for up to 2 months. When you’re ready to enjoy, let a slice thaw at room temperature for 15 minutes, then give it a quick microwave zap (10‑15 seconds) to revive the softness.
Best Reheating Method
Place a slice on a microwave‑safe plate, sprinkle a tiny splash of water (about a teaspoon) around the edges, and cover with a damp paper towel. Microwave on low for 20‑30 seconds. The steam generated restores the cake’s moisture, and the coffee aroma skyrockets.