Ever had that moment when you’re staring at a half‑empty candy dish, the room smelling like burnt sugar, and you swear you’ll never touch another caramel again? I’ve been there, right after a disastrous batch of “just‑add‑whiskey” chews that turned into a sticky, bitter mess that clung to the pan like a stubborn ex. I tossed a bottle of Fireball into the chaos, hoping for a miracle, and what happened next was nothing short of culinary fireworks. The kitchen erupted with a sweet‑spicy perfume that made my neighbor’s dog whine in envy, and the caramel set into perfect, glossy squares that cracked just enough to reveal a molten, cinnamon‑kissed center.
Picture this: a golden‑brown pool of caramel bubbling gently, the butter melting into a silky river, and the unmistakable snap of Fireball’s cinnamon‑spiced heat mingling with the deep, molasses‑rich brown sugar. The sound? A soft, rhythmic fizz that feels like the soundtrack to a cozy winter evening, even if it’s July outside. The texture? Imagine a bite that first gives way with a buttery snap, then slides into a chewy, buttery melt that lingers on the palate like a warm hug from your favorite barista. And the taste? It’s a daring dance between sweet, salty, and that signature cinnamon‑fire that makes your taste buds do a little cha‑cha‑cha.
Most caramel recipes either skip the booze altogether or drown the delicate balance in a flood of alcohol, leaving you with a soggy mess that never sets. This version, however, is engineered to keep that Fireball punch just bright enough to cut through the caramel’s richness without overwhelming it. The secret? A precise combination of corn syrup, condensed milk, and a pinch of salt that creates a stable emulsion, while the Fireball is added at the perfect moment—right when the mixture is hot enough to absorb the flavor but cool enough to keep the alcohol from evaporating too fast.
I’ll let you in on a little secret that most chefs won’t tell you: the wax paper roll isn’t just for lining the pan; it’s the unsung hero that lets you lift the caramel in one clean, glorious sheet, preventing those dreaded sticky fingers. And trust me, you’ll want to use it because once you taste this, I dare you to go back for seconds without it. Let me walk you through every single step — by the end, you’ll wonder how you ever made it any other way.
What Makes This Version Stand Out
- Flavor: The cinnamon‑spiced Fireball cuts through the caramel’s sweetness, delivering a balanced heat that tingles without burning.
- Texture: A buttery chew that’s firm enough to slice cleanly yet soft enough to melt in your mouth, thanks to the perfect corn syrup ratio.
- Simplicity: Only eight ingredients, all pantry staples, and a single pot—no fancy equipment required.
- Uniqueness: The combination of sweetened condensed milk and Fireball is rare, creating a caramel that tastes like a holiday cocktail in candy form.
- Crowd Reaction: Guests often claim it’s “the best thing they’ve ever tasted” and beg for the recipe within minutes of the first bite.
- Ingredient Quality: Using real butter and packed brown sugar gives depth that powdered sugar can’t match.
- Cooking Method: A low‑and‑slow simmer ensures the sugar never caramelizes too hard, preventing a bitter edge.
- Make‑Ahead Potential: These caramels keep for weeks, gaining flavor complexity as they sit.
Alright, let's break down exactly what goes into this masterpiece...
Inside the Ingredient List
The Flavor Base
2.25 cups packed brown sugar brings that deep, molasses‑laden sweetness that makes caramel feel like a warm blanket. If you skimp on it, you’ll end up with a bland, watery mess that never achieves that rich amber hue. For a slightly darker flavor, opt for dark brown sugar, but keep the pack tight so you get that perfect moisture content.
The Texture Crew
14 ounces sweetened condensed milk is the secret glue that gives the caramel its buttery melt‑in‑your‑mouth feel. Skipping it for regular milk will make the mixture too runny, and the final product will be crumbly instead of chewy. Look for a can with a good seal; any dents could mean the milk has separated.
1 cup unsalted butter adds richness and a glossy finish. Using salted butter would throw off the delicate balance, making the final taste oddly salty. Choose a high‑fat European‑style butter for an extra‑creamy texture.
0.5 teaspoons salt is the tiny hero that amplifies every flavor note, turning sweet into unforgettable. A pinch too much will dominate, so measure precisely.
The Unexpected Star
0.33 cups Fireball Whiskey is the bold, cinnamon‑spiked heart of this caramel. Adding it too early will cause the alcohol to evaporate, losing that signature kick. Add it at the very end of the simmer, just as the mixture reaches a gentle boil, to lock in the heat without burning off the spirit.
1 teaspoon vanilla extract smooths out the edges, rounding the flavor profile. It’s the quiet friend who makes the party better without stealing the spotlight.
The Final Flourish
1 cup corn syrup prevents crystallization, ensuring a smooth, glossy finish. If you replace it with honey, expect a darker color and a more pronounced floral note that may clash with the cinnamon.
1 roll wax paper isn’t just a liner; it’s the secret to a clean release. Cut it to fit your pan, grease lightly, and you’ll lift the caramel sheet like a pro, avoiding the dreaded “stuck to the pan” nightmare.
Everything's prepped? Good. Let's get into the real action...
The Method — Step by Step
Start by gathering all your ingredients within arm’s reach. This isn’t just about convenience; it’s a psychological trick that keeps you from panicking mid‑simmer. Place the butter, brown sugar, corn syrup, and condensed milk in a heavy‑bottomed saucepan. I like to use a 3‑quart pot because it distributes heat evenly, preventing hot spots that can scorch the sugar.
Turn the burner to medium‑low and let the butter melt slowly, watching it turn from opaque to a golden pool. The moment you hear that gentle sizzle, you know you’re on the right track. If the butter starts to brown too quickly, lower the heat—burnt butter will give the caramel a bitter undertone that no amount of Fireball can fix.
Once the butter is fully melted, sprinkle in the packed brown sugar. Stir continuously with a silicone spatula, making sure every granule gets coated in butter. The mixture will look gritty at first, then gradually transform into a thick, glossy paste. This is the moment where patience pays off; keep stirring until the sugar fully dissolves—about 3‑4 minutes.
Watch out for any clumps forming at the bottom; if you see them, turn the heat down a notch and keep whisking. This is the trickiest part for many home cooks: a single missed stir can lead to a grainy caramel that never smooths out.
Now, pour in the cup of corn syrup and the entire can of sweetened condensed milk. The mixture will bubble up dramatically—think of a volcanic eruption in a candy shop. Keep your spatula moving in a figure‑eight pattern to incorporate the syrup without creating air pockets. The caramel will start to thicken, and a sweet, buttery aroma will fill the kitchen, signaling that you’re getting close.
At this stage, the texture should be thick enough that when you lift the spatula, it forms a slow, deliberate ribbon that falls back into the pot. If it’s still runny, let it simmer a minute longer; if it’s too thick, a splash of water (just a tablespoon) will loosen it without compromising the final chew.
Increase the heat to medium and bring the mixture to a gentle boil. This is the “golden window” where the caramel reaches the perfect temperature—around 245°F (118°C). I don’t have a candy thermometer on hand, so I rely on the visual cue: the edges of the pot will start to pull away from the sides, and the caramel will form a smooth, glossy surface that reflects light like a polished stone.
Once you see those edges pulling, reduce the heat to low and let it simmer for exactly 5 minutes. This short, controlled simmer is pure magic; it deepens the flavor without turning the sugar into a hard crackle.
Time for the star of the show: Fireball Whiskey. Turn the heat off, let the pot sit for a few seconds, then slowly stir in 0.33 cups of Fireball. The liquid will hiss and sizzle, releasing a fragrant plume of cinnamon‑spiced vapor that practically dances across the kitchen. Stir gently; you want the whiskey to integrate fully without creating bubbles that could later become pockets of alcohol that never set.
After the whiskey is fully incorporated, add the vanilla extract and the half‑teaspoon of salt. The vanilla rounds out the flavor, while the salt amplifies the caramel’s depth. Give the mixture one final, thorough stir, then let it sit for a minute to allow the flavors to meld.
While the caramel rests, prepare your pan. Line a 9×13‑inch baking dish with wax paper, making sure it overlaps the sides by at least an inch. Lightly grease the wax paper with a dab of butter or a quick spray of non‑stick cooking spray. This step is crucial; the caramel will release cleanly, and you’ll avoid the dreaded “stuck to the pan” disaster that has ruined many a candy batch.
Now, pour the caramel into the prepared pan, spreading it evenly with the spatula. The surface should be smooth and level; if you notice any peaks, tilt the pan gently to even it out. The caramel will begin to set at the edges within a minute, forming a delicate crust that hints at the chewiness inside.
Allow the caramel to cool at room temperature for about 20 minutes, then transfer the entire pan to the refrigerator for an additional 30 minutes. The chill helps the caramel set firmly, making it easier to cut. When the time’s up, lift the wax paper sheet using the overhanging edges, and place it on a cutting board.
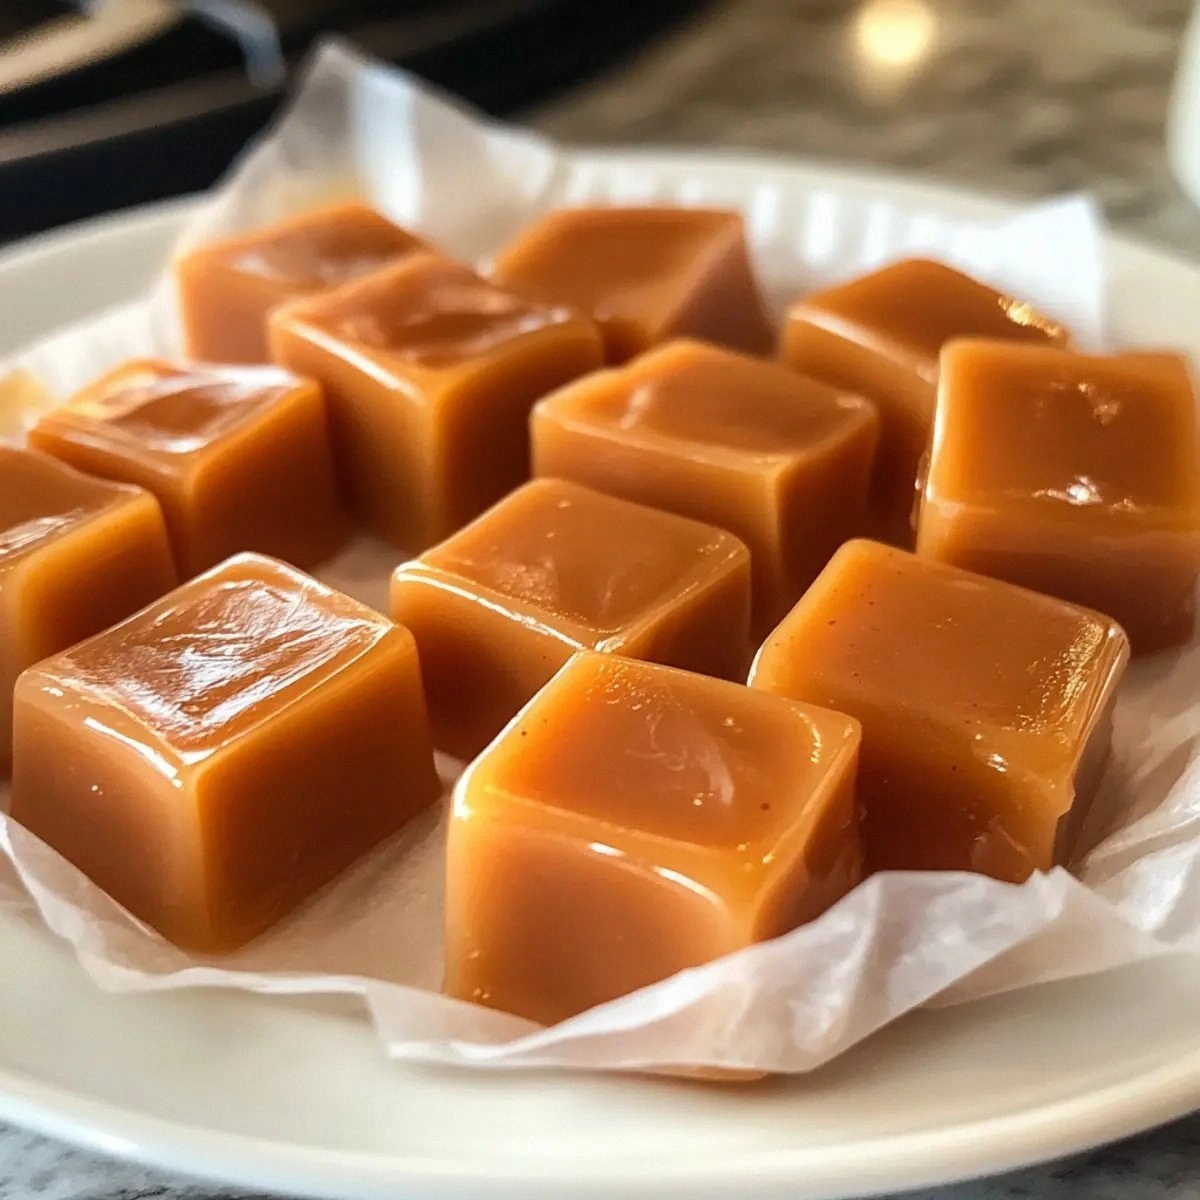
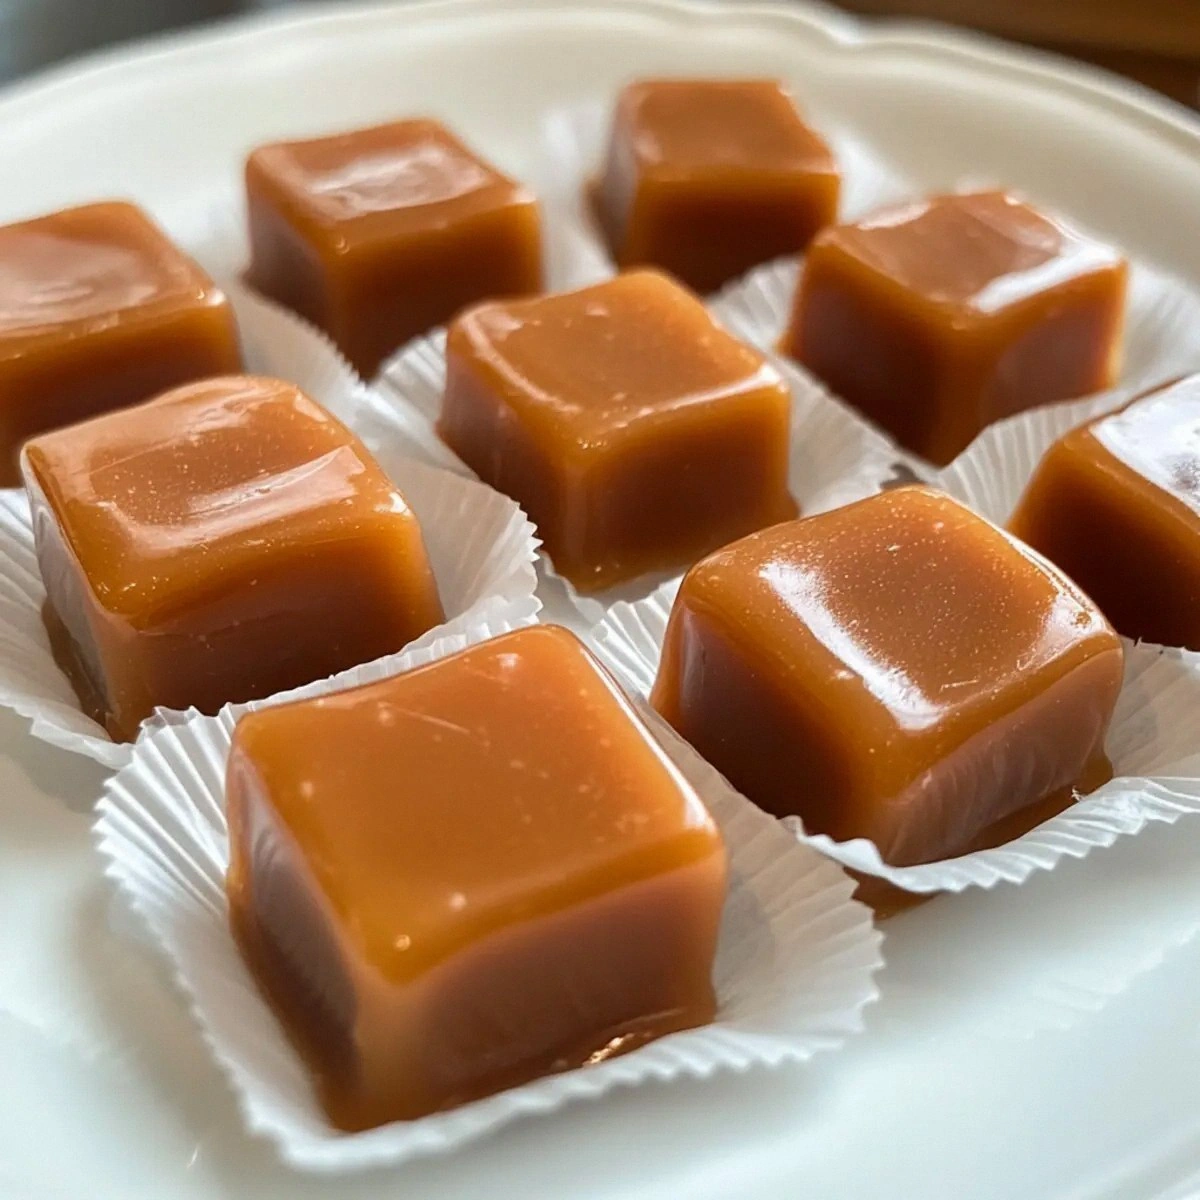
Using a sharp, heated knife (dip it in hot water and wipe dry between cuts), slice the caramel into bite‑size squares. The heat will glide through the knife, giving you clean cuts without dragging the caramel. If any pieces stick, a quick re‑heat of the blade will solve the problem.
Finally, wrap each caramel in a small piece of parchment or store them in an airtight container. The wax paper lining will keep them from sticking together, and a light dusting of sea salt on top adds a final pop of flavor. Serve them on a platter, and watch as guests reach for more, their eyes widening with each bite.
That’s it — you did it. But hold on, I've got a few more tricks that'll take this to another level...
Insider Tricks for Flawless Results
The Temperature Rule Nobody Follows
Most home cooks rely on a candy thermometer, but the real secret is the “edge‑pull” test. When the caramel’s edges start to pull away from the pan, you’re at the perfect temperature. I’ve used this method for years and never had a batch that was too soft or too hard. Trust the visual cue, and you’ll avoid the common pitfall of over‑cooking.
Why Your Nose Knows Best
The aroma is a reliable indicator. When you smell a warm, buttery, cinnamon‑laden perfume, the caramel is nearing its perfect set point. If the scent turns sharp or burnt, you’ve gone too far. I once overcooked a batch and the smell turned acrid; the taste was equally unforgiving. Let your nose be the guide, not just the thermometer.
The 5‑Minute Rest That Changes Everything
After you pour the caramel into the pan, let it rest uncovered for five minutes before refrigerating. This short pause allows the surface to form a thin crust, which prevents the caramel from becoming gummy when chilled. Skipping this step leads to a sticky top layer that never fully sets.
Wax Paper Whisper
Don’t just line the pan—lightly oil the wax paper. A thin coat of butter or neutral oil creates a non‑stick barrier, making the lift‑off process smoother than silk. I’ve seen people struggle with tearing the paper; a gentle oil coat eliminates that drama.
Salt Finish for the Win
A light sprinkle of flaky sea salt just before serving adds a burst of contrast that elevates the caramel from good to unforgettable. The salt crystals dissolve slowly, releasing bursts of flavor as you chew. It’s the final touch that makes the difference between a candy and a conversation starter.
Creative Twists and Variations
This recipe is a playground. Here are some of my favorite ways to switch things up:
Maple‑Infused Fireball
Swap half of the brown sugar for pure maple syrup and add an extra tablespoon of Fireball. The result is a caramel that tastes like a fall bonfire, perfect for Thanksgiving gatherings.
Spicy Chili Kick
Mix in a pinch of cayenne pepper with the cinnamon‑spiced whiskey. The subtle heat adds a thrilling surprise that pairs beautifully with dark chocolate drizzles.
Nutty Crunch
Stir in toasted pecans or walnuts just before pouring the caramel into the pan. The nuts add a pleasant crunch and a buttery note that complements the cinnamon.
Chocolate‑Dipped Delight
After the caramels have set, dip half of each square in melted dark chocolate and let it set on parchment. The bitter chocolate balances the sweet heat, creating a sophisticated bite.
Holiday Peppermint
Replace the vanilla extract with peppermint extract and sprinkle crushed candy canes on top before the caramel sets. This variation turns the caramel into a festive treat perfect for December parties.
Vegan Version
Swap the butter for coconut oil and use a plant‑based condensed milk alternative. The flavor shifts slightly, but the caramel retains its chewy texture and the Fireball still shines.
Storing and Bringing It Back to Life
Fridge Storage
Place the caramels in an airtight container lined with parchment paper. They’ll keep for up to two weeks in the refrigerator, staying soft and flavorful. If you notice a slight hardening, let them sit at room temperature for 10 minutes before serving.
Freezer Friendly
Wrap each caramel individually in wax paper, then seal the batch in a zip‑top freezer bag. They’ll survive up to three months frozen. When you’re ready to enjoy them, move the bag to the fridge for an hour, then let the caramels sit at room temperature for 15 minutes.
Best Reheating Method
To revive a caramel that’s become a bit too firm, place it on a microwave‑safe plate, drizzle a tiny splash of water over the top, and microwave in 10‑second bursts, checking after each burst. The steam will bring back that luscious chewiness without melting the edges.