Picture this: it’s a rainy Saturday, the kitchen smells like burnt toast and the only thing that can’t be ignored is the sweet, bitter whisper of espresso drifting from the espresso machine. I had just finished a week of bland salads and a week of overcooked pasta, and my stomach was screaming for something that would make my taste buds dance. I pulled out my pantry, stared at the stack of vegan digestive biscuits, and thought, “What if I could turn these into the ultimate dessert?” The result? A vegan tiramisu cheesecake that feels like a decadent hug in every bite.
I’ll be honest, I nearly burned the first batch. The crust was soggy, the filling was too runny, and the espresso had been diluted by a splash of water I forgot to add. I laughed at myself, but the smell of coffee and cocoa still lingered. I went back to the drawing board, tweaked the ratio of espresso to cocoa, and added a pinch of sea salt that gave the filling a surprising depth. The moment I tasted the finished product, I knew I had discovered a new benchmark for vegan desserts. It’s that kind of “aha” moment that turns a kitchen mishap into a culinary triumph.
What makes this version stand out? It’s not just the layers of creamy, coffee-infused filling or the buttery crunch of the crust. It’s the harmony of textures, the balance of sweet and bitter, and the clever use of everyday pantry staples. I dare you to taste this and not go back for seconds. And if you’re still skeptical, let me walk you through every single step — by the end, you’ll wonder how you ever made it any other way.
This isn’t a recipe you’ll find in a dusty cookbook; it’s a living, breathing creation that you can tweak to suit your mood. Whether you’re craving a light, airy dessert or a rich, indulgent treat, the core structure remains the same. The secret is in the espresso, the cocoa, and the way the ingredients are layered. Trust me, the first bite will have you reaching for a second slice, and the second bite will have you reaching for a third. Let’s dive into the details.
What Makes This Version Stand Out
- Flavor Depth: The combination of strong espresso and unsweetened cocoa creates a layered taste profile that feels both indulgent and sophisticated. Each spoonful delivers a burst of coffee followed by a subtle chocolate finish.
- Texture Contrast: The buttery biscuit crust provides a crunchy foundation that contrasts with the silky, airy filling. The result is a dessert that satisfies the craving for both crunch and cream.
- Ingredient Simplicity: All components are pantry staples or can be found in any grocery store. No exotic ingredients or hard-to-find items required.
- Make‑Ahead Friendly: The cheesecake can be assembled and chilled overnight, making it a perfect stress‑free dessert for gatherings or last‑minute celebrations.
- Vegan & Dairy‑Free: Every ingredient is plant‑based, ensuring that the dessert is inclusive for vegans, lactose‑intolerant guests, or anyone who loves to experiment with dairy alternatives.
- Crowd‑Pleaser: The dessert’s rich coffee flavor and creamy texture make it a hit with coffee lovers, dessert enthusiasts, and even those who are skeptical about vegan sweets.
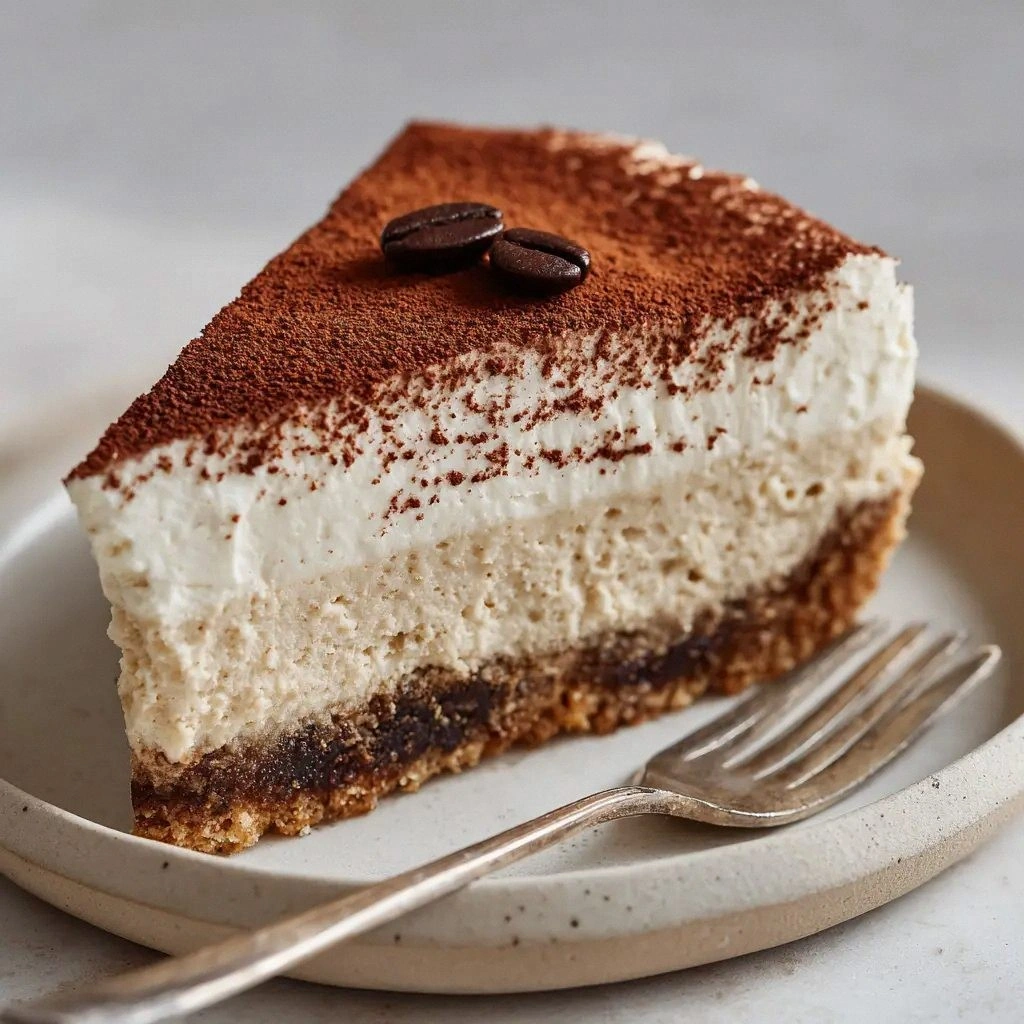
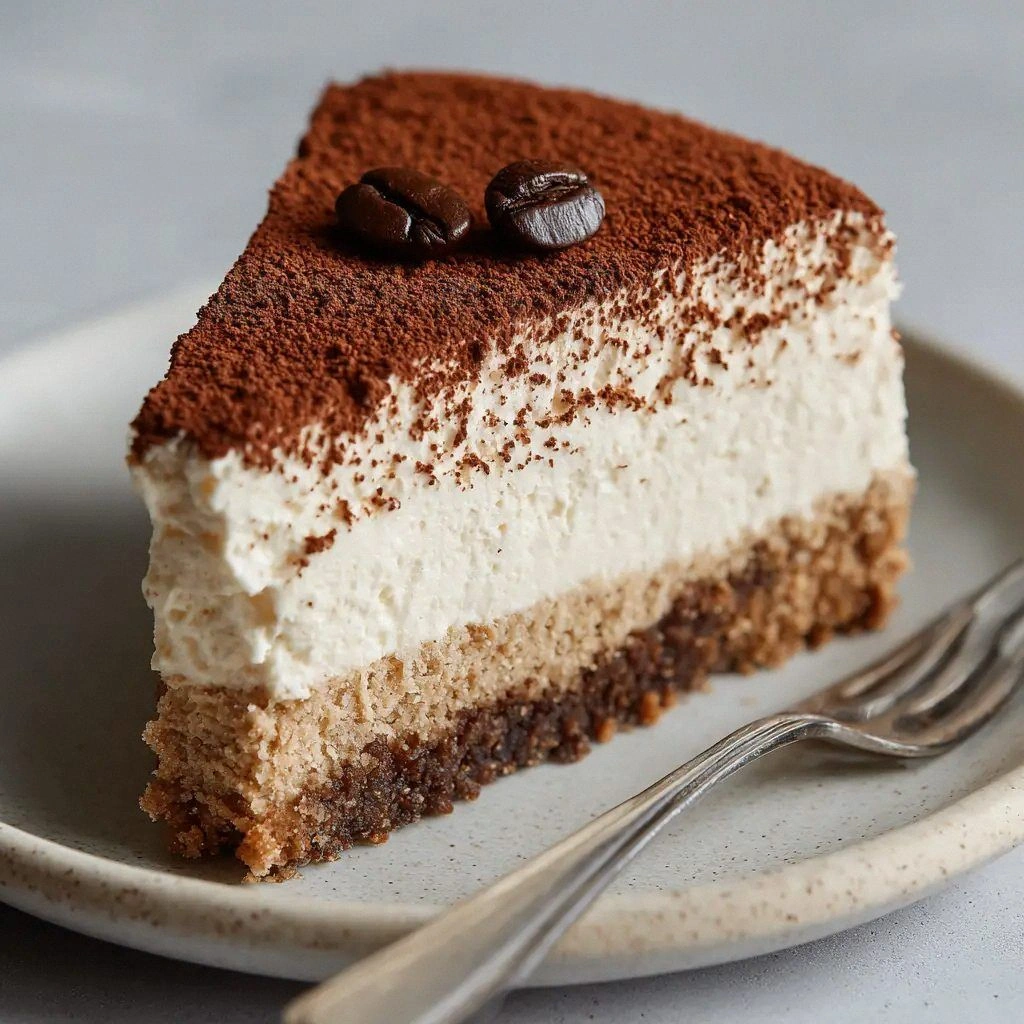
- Visual Appeal: The glossy finish of the cheesecake, the dark espresso bean garnish, and the dusting of cocoa powder create a striking presentation that will wow your guests.
- Nutrition Balance: With a moderate amount of protein from the vegan cream cheese and healthy fats from coconut oil, this cheesecake offers a satisfying dessert without feeling overly indulgent.
Alright, let's break down exactly what goes into this masterpiece…
Inside the Ingredient List
The Flavor Base
The backbone of this cheesecake is the espresso and cocoa combination. The espresso not only infuses the filling with a robust coffee taste but also balances the sweetness of the powdered sugar. The cocoa powder adds a subtle bitterness that cuts through the richness of the vegan cream cheese. If you skip the espresso, you’ll lose the signature coffee kick, and the cheesecake will taste more like a plain chocolate dessert.
Swap tip: If you’re allergic to caffeine, replace the espresso with a strong brewed coffee or a shot of cold brew. The result will be slightly different but still deliciously caffeinated.
The Texture Crew
Vegan cream cheese is the star of the filling, providing a creamy, tangy base that mimics traditional cheesecake. The dairy‑free heavy whipping cream lightens the mixture, giving it a mousse‑like texture that melts in your mouth. Coconut oil, when melted, adds a silky mouthfeel and helps the cheesecake set firmly. If you omit the coconut oil, the cheesecake may become too dense and less stable.
Swap tip: For an extra airy texture, add a tablespoon of aquafaba (the liquid from a can of chickpeas) whipped until stiff peaks form, then fold into the filling.
The Unexpected Star
The whole roasted espresso bean isn’t just a garnish—it’s a flavor enhancer. When you bite into the cheesecake, the bean releases a burst of intense coffee aroma that surprises the palate. Skipping it will make the dessert look less polished and lose that final espresso pop.
Swap tip: If you can’t find a whole espresso bean, use a small amount of instant espresso granules dusted on top after baking.
The Final Flourish
The digestive biscuits and vegan butter create a crunchy, buttery crust that anchors the cheesecake. The biscuits provide structure, while the butter melts into the crumbs, forming a cohesive base that holds the filling. If you use graham crackers instead, the flavor will shift slightly toward a sweeter, vanilla undertone.
Swap tip: For a gluten‑free version, use gluten‑free digestive biscuits or a mixture of almond flour and coconut flour to make your own crumbs.
Everything's prepped? Good. Let's get into the real action…
The Method — Step by Step
- Start by preheating your oven to 325°F (163°C). Line the bottom of a 9‑inch springform pan with parchment paper for easy release. This step ensures a smooth removal and a clean finish.
- In a medium bowl, pulse the digestive biscuits or graham crackers until they crumble into fine crumbs. If you’re using whole biscuits, a food processor works best; for graham crackers, a plastic bag and rolling pin will do the trick.
- Melt the vegan butter in a small saucepan over low heat, then stir in the biscuit crumbs until the mixture resembles wet sand. The butter binds the crumbs together, creating a cohesive crust that will hold the filling.
- Press the crumb mixture firmly into the bottom of the prepared pan, using the back of a spoon to create an even layer. Tap the pan gently on the counter to settle the crust. This is the foundation of the cheesecake, so take your time.
- In a large bowl, blend the vegan cream cheese until smooth, using a hand mixer on medium speed. The smoother the cream cheese, the silkier the final texture.
- Add the powdered sugar, vanilla extract, and espresso, and continue to mix until fully incorporated. The espresso should be at room temperature to avoid curdling the cream cheese.
- Whisk in the dairy‑free heavy whipping cream until the mixture is light and airy. Then fold in the melted coconut oil, which helps the cheesecake set firmly while keeping it moist.
- Pour the filling over the crust, smoothing the top with a spatula. Tap the pan a few times to release air bubbles. The filling should look glossy and even.
- Bake for 35–40 minutes, or until the edges are set but the center still has a slight wobble. The cheesecake will continue to firm up as it cools. Don’t overbake, or it will become dry.
- Allow the cheesecake to cool in the pan at room temperature for 30 minutes, then refrigerate for at least 4 hours or overnight to set fully.
- Before serving, garnish with the whole roasted espresso bean, dust with unsweetened cocoa powder, and optionally drizzle a thin line of espresso‑infused chocolate glaze for an extra touch of luxury.
That's it — you did it. But hold on, I've got a few more tricks that'll take this to another level…
Insider Tricks for Flawless Results
The Temperature Rule Nobody Follows
The key to a perfectly set cheesecake is the oven temperature. A steady 325°F ensures the filling cooks slowly, preventing cracks and creating a creamy interior. Many bakers tempt themselves to a higher heat for a faster bake, but that often leads to a dry, cracked top.
Why Your Nose Knows Best
Before you pull the cheesecake out of the oven, trust your sense of smell. A subtle, warm aroma of coffee and cocoa indicates that the filling has set just right. If you smell a faint burnt note, it’s time to lower the temperature.
The 5-Minute Rest That Changes Everything
After baking, let the cheesecake rest in the oven with the door ajar for five minutes. This gradual cooling prevents sudden temperature changes that can cause the dessert to crack. It also allows the filling to firm up slightly, making it easier to slice.
The Secret Ingredient Swap
If you’re craving a touch of citrus, add a tablespoon of fresh lemon zest to the filling. The bright flavor cuts through the richness and adds a refreshing contrast. Be sure to keep the zest finely grated to avoid bitterness.
The Chill & Slice Trick
Once the cheesecake has set, chill it for at least 4 hours. When you slice, use a warm, damp knife and wipe it clean between cuts. This technique ensures clean, even slices that showcase the glossy surface.
Creative Twists and Variations
This recipe is a playground. Here are some of my favorite ways to switch things up:
Almond Butter Swirl
Swap the vegan butter for almond butter and swirl it into the filling before baking. The nutty flavor complements the espresso, creating a layered taste that’s both rich and earthy.
Cocoa‑Dusted Crunch
Add a tablespoon of cocoa powder to the biscuit crumbs before pressing them into the pan. This gives the crust a chocolatey bite that pairs nicely with the coffee‑infused filling.
Minty Fresh
Add a teaspoon of peppermint extract to the filling and garnish with a few fresh mint leaves. The cool mint balances the deep coffee flavor and adds a refreshing finish.
Berry Burst
Fold in a handful of fresh blueberries or raspberries into the filling before baking. The berries provide a burst of tartness that cuts through the sweetness and adds natural color.
Chocolate Ganache Drizzle
Melt vegan dark chocolate with a splash of coconut milk to create a glossy ganache. Drizzle it over the chilled cheesecake for a decadent, chocolate‑coffee fusion.
Spiced Espresso
Add a pinch of ground cinnamon or a drop of vanilla bean paste to the espresso before mixing it into the filling. The warm spices elevate the coffee flavor and add depth.
Storing and Bringing It Back to Life
Fridge Storage
Store the cheesecake in an airtight container in the refrigerator for up to 5 days. Before serving, let it sit at room temperature for 20 minutes to soften the filling and enhance flavor.
Freezer Friendly
Wrap the cheesecake tightly in plastic wrap and then in foil. Freeze for up to 2 months. Thaw overnight in the fridge, then allow to warm slightly before serving.
Best Reheating Method
To revive a frozen slice, place it on a microwave‑safe plate and heat on low power for 30 seconds. Add a splash of water to the plate to create steam, which helps restore moisture and prevents the cheesecake from drying out.