I was in the middle of a Halloween movie marathon when my roommate dared me to create a snack that could out‑shine the Stay‑Puft Marshmallow mascot on the big screen. I grabbed whatever I could find in the pantry—large marshmallows, a handful of candy eyes, and a bar of white chocolate—and set to work. The kitchen filled with the sweet, buttery aroma of melting chocolate, while the soft, pillowy marshmallows puffed up like tiny clouds ready to explode. The first bite was a revelation: a crunchy chocolate shell that gave way to a melt‑in‑your‑mouth marshmallow core, all topped with a mischievous wink of candy eyes. I was hooked, and I knew I had stumbled onto something that could become the ultimate Halloween party staple.
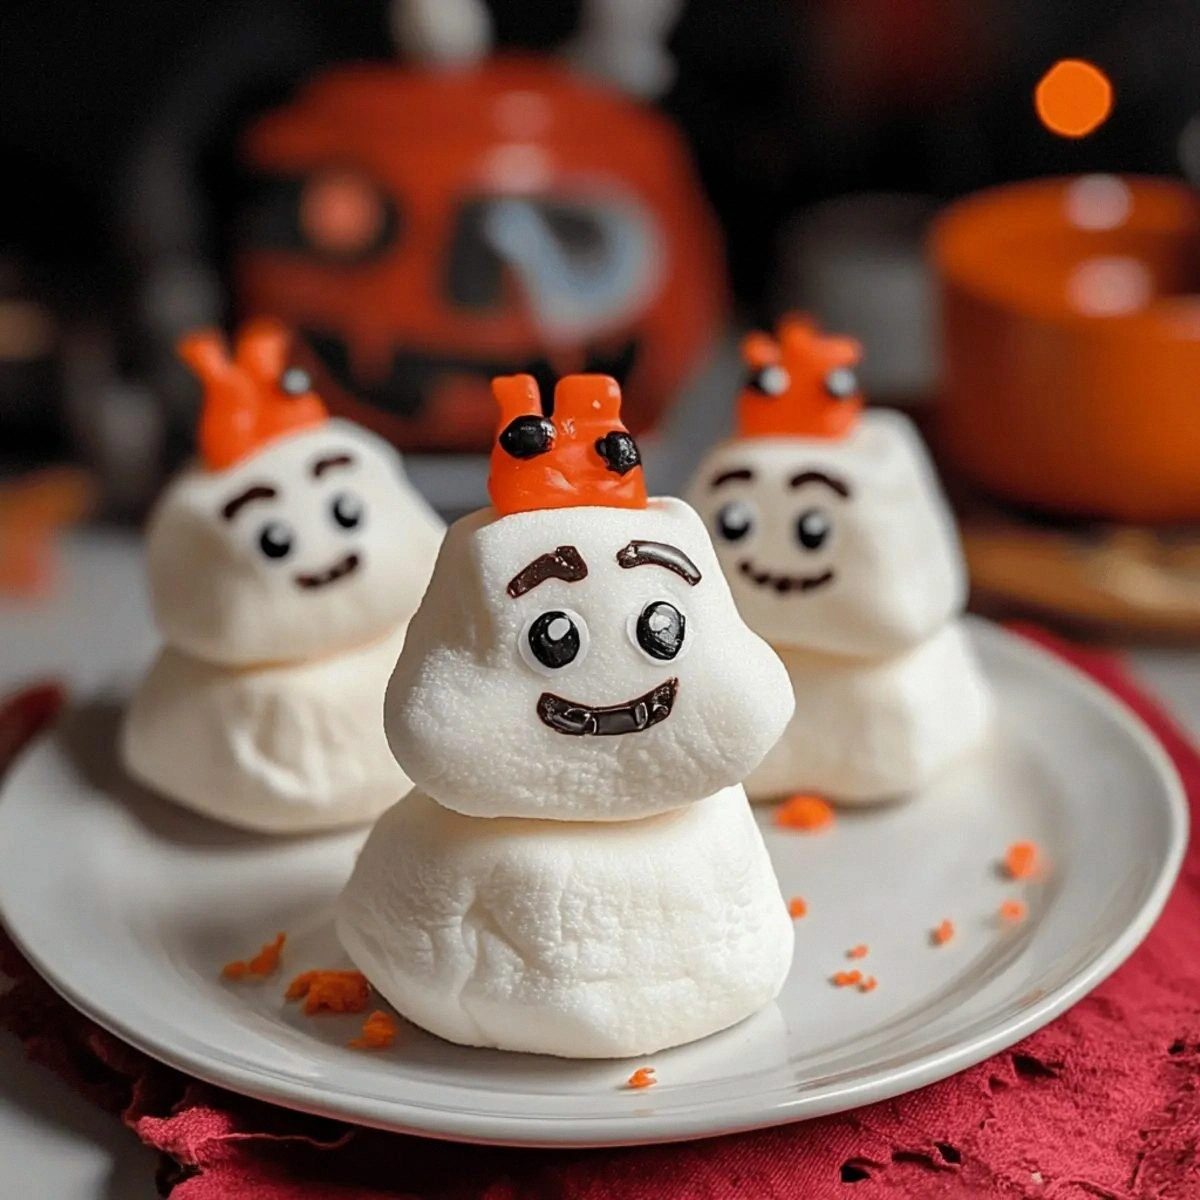
Fast forward a few weeks, and I’ve refined the process into a no‑bake masterpiece that even the most skeptical sweet tooth can’t resist. This isn’t just another marshmallow dip or a soggy candy‑coated treat that falls apart after an hour. No, this version stays firm, glossy, and perfectly bite‑sized, thanks to a secret technique involving a touch of vegetable shortening that gives the chocolate coating a glossy, snap‑like finish. Imagine the classic Stay‑Puft mascot coming to life on a plate, each marshmallow wearing a pair of glowing candy eyes, ready to be devoured by ghosts, ghouls, and anyone else brave enough to bite. I dare you to taste this and not go back for seconds.
What truly sets this recipe apart is its simplicity paired with a theatrical flair. You don’t need a kitchen full of gadgets—just a microwave, a mixing bowl, and a steady hand. Most recipes get the coating wrong, ending up either too runny or too hard, but I’ve cracked the code with a precise ratio of white chocolate to shortening, plus a dusting of powdered sugar that prevents sticking without sacrificing that silky shine. The result is a treat that looks as good as it tastes, and the moment you pull the tray from the countertop, you’ll hear that faint “pop” as the chocolate sets—pure magic.
And now, the fun part. I’m about to walk you through every single step—by the end, you’ll wonder how you ever made any other marshmallow treat. Picture yourself pulling these glossy, eye‑decorated marshmallows out of the fridge, the whole kitchen smelling like a candy‑store after a midnight raid. The secret ingredient I’ll reveal later is a tiny dash of something you probably have in your pantry, but most people overlook. Stay with me here — this is worth it, and the payoff is a batch of treats that will have your guests chanting “Who you gonna call?” every time they take a bite.
What Makes This Version Stand Out
- Flavor Explosion: The white chocolate coating is buttery and sweet, but the addition of a tablespoon of vegetable shortening creates a glossy, melt‑in‑your‑mouth snap that feels like biting into a candy shell straight from a movie set.
- Texture Harmony: The outer crust is crisp yet pliable, while the marshmallow core stays pillowy and airy, delivering a contrast that’s as satisfying as a crisp leaf underfoot on a fall evening.
- Simplicity: No oven, no complicated tempering—just melt, dip, and set. This makes it accessible for anyone, even if you’re a kitchen rookie who once burned toast.
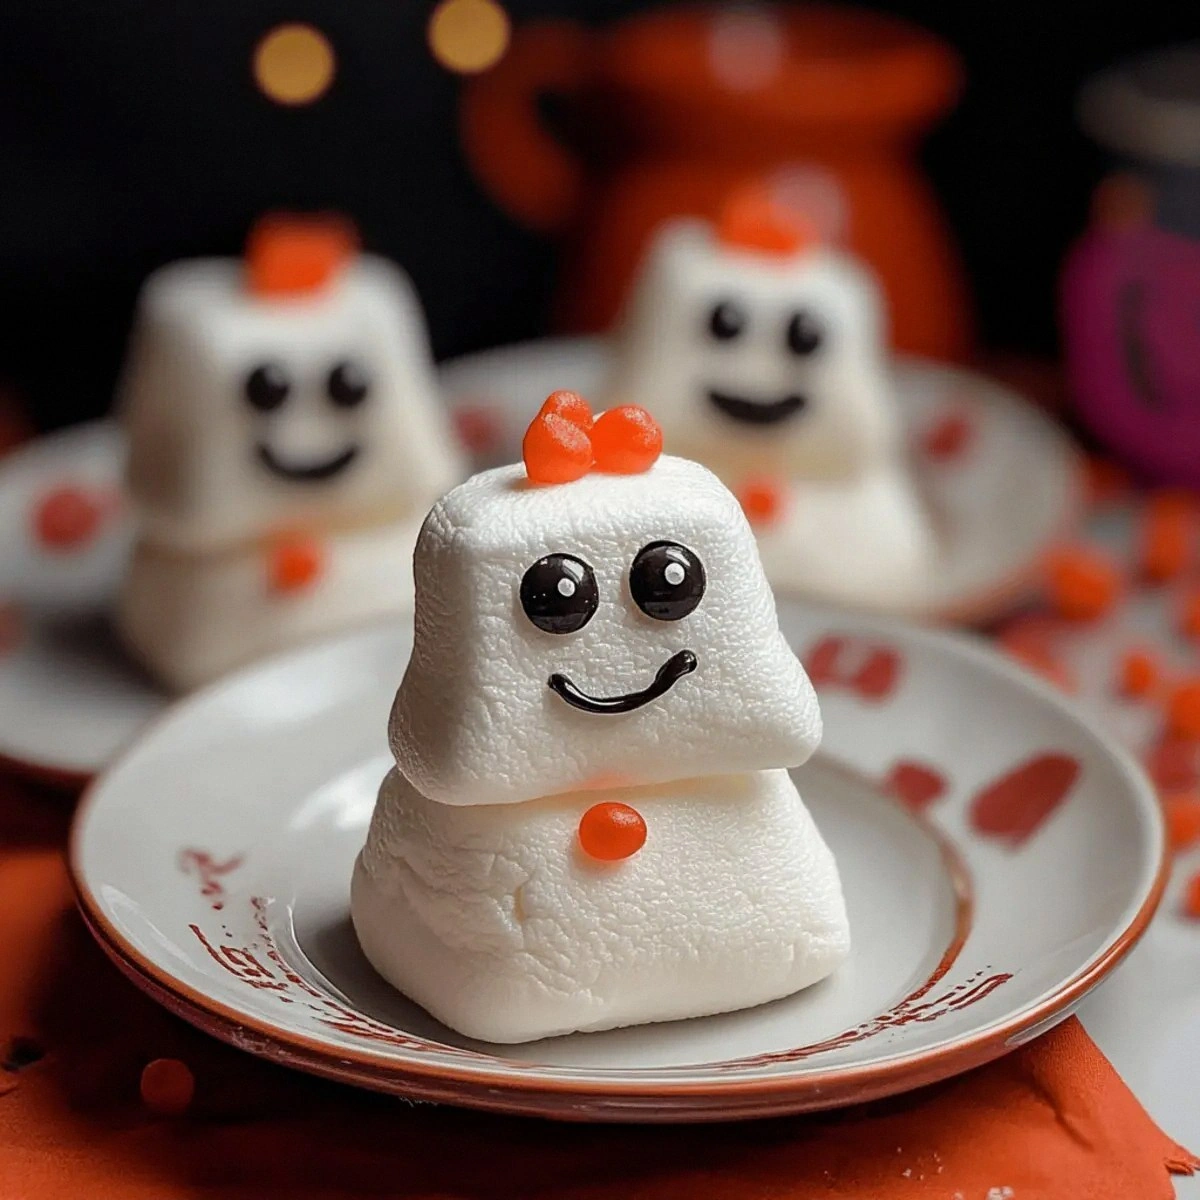
- Visual Impact: The candy eyes and black edible marker give each marshmallow a spooky, cartoon‑like personality that’s perfect for Halloween parties or themed gatherings.
- Ingredient Quality: Using high‑quality white chocolate and fresh large marshmallows ensures a clean, pure flavor that doesn’t get lost in artificial aftertastes.
- Make‑Ahead Potential: Once set, these treats keep for up to a week in the fridge, retaining their snap and shine, so you can prep them ahead and focus on the party.
- Crowd Reaction: Guests often claim they’ve never seen marshmallows look this polished—expect oohs, aahs, and a flood of “Can I have another?” requests.
- Playful Twist: The black edible marker lets you draw tiny ghostly faces or the iconic Stay‑Puft logo, turning each piece into a mini work of edible art.
Inside the Ingredient List
The Flavor Base
The star of the show is the 1 cup of white chocolate. It provides a buttery sweetness that pairs perfectly with the marshmallow’s vanilla notes. If you opt for a lower‑quality chocolate, you’ll notice a waxy texture and a faint aftertaste that can ruin the whole experience. Look for a chocolate that lists cocoa butter as the first ingredient; this ensures a smooth melt and a glossy finish. As a swap, you can use a high‑quality white candy coating, but expect a slightly different mouthfeel.
The Texture Crew
16 pieces Large Marshmallows are the canvas. Their size lets you dip each one without it slipping off, and the larger surface area means more chocolate coverage and a bigger bite. If you only have mini marshmallows, you’ll end up with a chocolate‑clumped mess that’s hard to handle. When selecting marshmallows, choose the ones that are firm yet slightly springy—those that bounce back when you press them lightly. This firmness helps them hold the coating without cracking.
1 tablespoon Powdered Sugar is dusted on the marshmallows before dipping. This thin veil creates a barrier that prevents the chocolate from sticking to the marshmallow’s surface, ensuring a clean, even coat. Skipping this step results in a gummy, uneven layer that looks sloppy and feels sticky. If you’re allergic to wheat, you can substitute a gluten‑free powdered sugar without any impact on texture.
The Unexpected Star
1 tablespoon Vegetable Shortening might sound like a trick, but it’s the secret to that glossy, snap‑ready finish. The shortening lowers the chocolate’s viscosity, allowing it to flow smoothly over the marshmallow and set with a firm snap. Without it, the coating would be too thick, taking longer to set and often becoming dull. Use a neutral‑flavored shortening so it doesn’t interfere with the white chocolate’s delicate taste.
The Final Flourish
1 cup Candy Eyes turn each marshmallow into a mischievous monster. They add a pop of color and a playful crunch that contrasts the soft interior. If you can’t find candy eyes, you can use tiny chocolate chips or edible glitter for a similar effect. The 1 piece Black Edible Marker lets you draw tiny mouths or spooky symbols, giving each treat a personalized, haunted look. It’s a tiny step that makes a massive visual impact.
Everything’s prepped? Good. Let’s get into the real action, where the magic really happens. I’ll guide you through each melt, dip, and set, making sure you never have to guess whether the chocolate is ready or if the marshmallows need a little extra love.
The Method — Step by Step
First, line a large baking sheet with parchment paper and set it aside. This will be your cooling rack where the marshmallows will set, and the parchment ensures they don’t stick. While the sheet is waiting, gather all your marshmallows and give them a quick pat with a paper towel to remove any excess moisture; this helps the coating adhere better.
Okay, ready for the game‑changer? In a microwave‑safe bowl, combine the 1 cup white chocolate and 1 tablespoon vegetable shortening. Microwave in 30‑second bursts, stirring after each burst, until the mixture is smooth and glossy. The chocolate should be fully melted, with a thin, pourable consistency that coats the back of a spoon without dripping.
Kitchen Hack: Keep a silicone spatula handy; it slides under the chocolate without scraping the bowl, preserving the glossy finish.While the chocolate is still warm, dust each marshmallow lightly with the 1 tablespoon powdered sugar. This dusting is crucial—it creates a dry surface that prevents the chocolate from clinging too tightly, which can cause cracks later.
Next, dip each marshmallow into the chocolate, using a fork or a small skewer to lift it out. Let any excess chocolate drip back into the bowl; you want a thin, even coating, not a gloppy blob. Place the coated marshmallow onto the prepared parchment, spacing them at least an inch apart.
Now comes the fun part: while the chocolate is still tacky, press a handful of candy eyes onto each marshmallow. The eyes should sink just enough to stay in place but not so deep that they break the chocolate shell.
If you’re feeling artistic, use the black edible marker to draw tiny mouths, fangs, or the iconic Stay‑Puft smile. This step is where your personality shines—don’t be shy about adding a little extra flair.
Watch Out: If the chocolate hardens before you add the eyes, the eyes will slide off. Keep the chocolate warm but not boiling; a temperature of about 115°F (46°C) is ideal.After all marshmallows are decorated, transfer the baking sheet to the refrigerator for about 20‑30 minutes. This chilling period lets the chocolate set fully, giving it that satisfying snap when you bite into it.
While waiting, you can prep a small bowl of extra candy eyes for guests who want to add more after the first round. This interactive element makes the treat feel like a DIY activity at the party.
Once the coating is firm, gently lift each marshmallow off the parchment using a thin offset spatula. If you hear a faint “pop” as you lift, that’s the chocolate releasing its grip—a sign of perfect set.
Arrange the finished treats on a serving platter, grouping them by color or face design for visual impact. A sprinkle of edible glitter around the edges adds a mystical glow that looks amazing under dim party lights.
Before serving, give each marshmallow a final dusting of powdered sugar if you like a frosted look. This extra dusting also helps to absorb any stray moisture that might develop during the party.
And now, the moment of truth—take a bite. You’ll feel the crisp chocolate shell give way to a fluffy marshmallow core, while the candy eyes stare back at you like tiny, sugary sentinels. This is hands down the best version you’ll ever make at home.
If you have leftovers (which is unlikely), store them in an airtight container in the fridge. The chocolate will stay glossy for up to a week, and the marshmallow interior remains soft and airy.
That’s it — you did it. But hold on, I’ve got a few more tricks that’ll take this to another level, like adding a hint of sea salt or swapping the white chocolate for a dark chocolate dip for a sophisticated twist.
Insider Tricks for Flawless Results
The Temperature Rule Nobody Follows
Keep the white chocolate between 110°F and 115°F while dipping. Anything hotter will make the chocolate too thin, causing it to run off the marshmallow; anything cooler will cause it to set too quickly, leading to a dull finish. Use a candy thermometer for precision—trust me, the difference is night and day. I once tried to skip this step and ended up with a gummy mess that stuck to the parchment like a bad hair day.
Why Your Nose Knows Best
When the chocolate reaches the perfect temperature, you’ll notice a faint buttery aroma that’s richer than the raw chocolate scent. This is your cue to start dipping. If you’re unsure, give the chocolate a quick sniff; the sweet, slightly nutty fragrance signals it’s ready to coat. Your nose is a better thermometer than any gadget when it comes to chocolate.
The 5‑Minute Rest That Changes Everything
After dipping, let each marshmallow rest for exactly five minutes before adding the candy eyes. This pause allows the chocolate to firm up just enough to hold the eyes without sliding. Skipping this rest results in eyes that wobble or fall off, which can be a party‑spoiling disaster. I once rushed this step and spent the rest of the night picking eyes off the floor.
The Shortening Swap Secret
If you’re looking for a dairy‑free version, substitute the vegetable shortening with coconut oil. The coconut oil adds a subtle tropical note that pairs surprisingly well with the sweet marshmallow. Just be aware that coconut oil solidifies at cooler temperatures, so you may need a slightly warmer melt.
The Final Glaze Touch
For an extra glossy finish, once the marshmallows are set, lightly brush them with a tiny amount of melted white chocolate thinned with a drop of vegetable shortening. This “top coat” creates a mirror‑like sheen that catches the light at parties, making each bite look like a tiny, edible sculpture.
Creative Twists and Variations
This recipe is a playground. Here are some of my favorite ways to switch things up:
Spooky Dark Chocolate
Swap the white chocolate for an equal amount of dark chocolate (70% cacao). The bitterness balances the sweet marshmallow, creating a sophisticated flavor that adult guests love. Add a pinch of sea salt to accentuate the contrast.
Caramel Drizzle
After the chocolate sets, drizzle a thin line of caramel sauce over each marshmallow. The caramel adds a buttery, buttery richness that pairs beautifully with the white chocolate’s creaminess.
Rainbow Sprinkle Explosion
Before the chocolate fully sets, sprinkle colorful non‑metallic sprinkles over the tops. This turns each treat into a mini confetti bomb, perfect for a kid‑friendly Halloween bash.
Nutty Crunch
Roll the coated marshmallows in finely chopped toasted almonds or pistachios before the chocolate sets. The nuts add a surprising crunch that complements the soft interior.
Miniature Ghosts
Cut the marshmallows in half before dipping, then use a small brush to paint a ghostly white “face” with edible white paint. These bite‑size versions are perfect for cocktail parties where guests want a single, spooky nibble.
Storing and Bringing It Back to Life
Fridge Storage
Place the finished marshmallows in an airtight container lined with parchment paper. They’ll stay fresh for up to 7 days in the refrigerator. The cool environment keeps the chocolate firm and prevents any sogginess.
Freezer Friendly
If you need to make a massive batch, freeze the marshmallows on a tray, then transfer them to a zip‑top bag. They’ll keep for up to 3 months. When you’re ready to serve, let them thaw in the fridge for an hour, then give them a quick room‑temperature rest before plating.
Best Reheating Method
To revive a set‑out batch that’s lost its snap, place the marshmallows on a microwave‑safe plate, add a tiny splash (about a teaspoon) of water, and microwave for 5‑7 seconds. The steam will soften the chocolate just enough to restore its glossy sheen without melting the marshmallow core.