Vanilla Pudding
As a home cook with a passion for baking, I've always been drawn to the simple yet satisfying delight of a well-made pudding. Vanilla pudding, in particular, holds a special place in my heart - it's a classic comfort food that never fails to put a smile on my face. But what really sets my recipe apart is its accessibility: by using a balanced blend of gluten-free flours and a careful attention to texture, anyone can create a rich and creamy pudding that's sure to please even the most discerning palate.
My journey with gluten-free cooking began after being diagnosed with celiac disease, and it's been a game-changer for me. At first, I was intimidated by the idea of overhauling my entire approach to baking, but as I delved deeper into the world of gluten-free ingredients and techniques, I discovered a whole new world of possibilities. One of the most important things I've learned is the importance of using a balanced flour blend, which typically includes a combination of rice flour, tapioca starch, and a binder like xanthan or psyllium.
This blend is essential for creating a tender and smooth texture in gluten-free baked goods, and it's especially crucial when it comes to making a pudding. By using this blend and allowing the mixture to rest for a period of time, you can create a pudding that's not only delicious but also remarkably similar in texture to its traditional counterpart. So, whether you're a seasoned baker or just starting out, I hope you'll join me on this journey into the world of gluten-free cooking and discover the joy of creating delicious and dependable treats from scratch.
One of the things I love most about this recipe is its versatility - it's perfect for a quick dessert or snack, and it's also a great base for more elaborate creations. You can flavor it with different extracts, add in nuts or fruit, or even use it as a topping for cakes and pies. The possibilities are endless, and I'm excited to share this recipe with you and see where you take it.
So, let's get started and make some vanilla pudding! With its creamy texture and delicate flavor, this pudding is sure to become a new favorite in your household. And don't worry if you're new to gluten-free cooking - this recipe is designed to be approachable and easy to follow, with plenty of tips and tricks to help you along the way.
Why You’ll Love This Recipe
- This recipe is easy to make and requires minimal ingredients
- It's a great base for more elaborate desserts and can be flavored with different extracts
- The pudding is creamy and indulgent, making it perfect for special occasions
- It's a great option for those with gluten intolerance or sensitivity
- The recipe is approachable and easy to follow, making it perfect for beginners
- It's a versatile dessert that can be served in a variety of ways, from simple to elaborate
Why This Recipe Works
The key to a great vanilla pudding is in the balance of its ingredients and the technique used to prepare it. By using a combination of milk, cream, and sugar, we create a rich and creamy base that's perfectly balanced by the subtle flavor of vanilla. But what really sets this pudding apart is the use of a gluten-free flour blend, which adds structure and texture without compromising the delicate flavor of the vanilla.
Another important factor in making a great pudding is temperature control. By heating the mixture slowly and gently, we can create a smooth and even texture that's free from lumps and scars. This is especially important when working with gluten-free ingredients, which can be more prone to separating or becoming grainy if not handled properly.
Finally, the resting time is crucial in allowing the flavors to meld together and the texture to set. This is where the magic happens, and the pudding transforms from a loose and watery mixture into a creamy and indulgent dessert. By following these simple steps and using the right ingredients, you can create a vanilla pudding that's sure to impress even the most discerning palate.
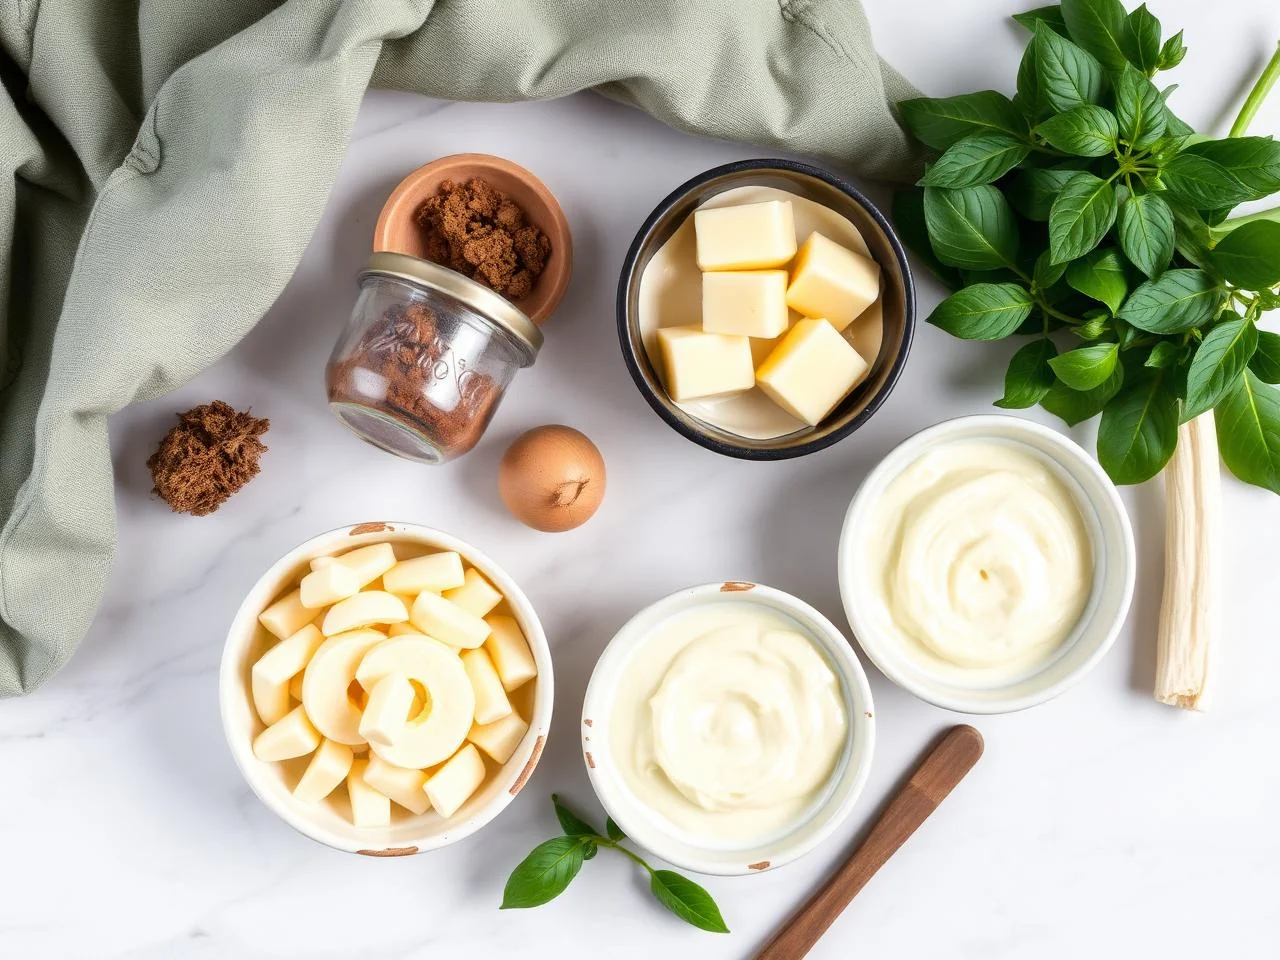
Ingredients You’ll Need
When it comes to making a great vanilla pudding, the ingredients are just as important as the technique. You'll need a combination of milk, cream, sugar, and gluten-free flour, as well as a few other key ingredients to bring out the flavor and texture of the pudding. Here are the ingredients you'll need to get started:
Be sure to choose high-quality ingredients, especially when it comes to the vanilla extract and gluten-free flour blend. These will make a big difference in the final flavor and texture of the pudding, and are worth investing in if you want to create a truly exceptional dessert.
- 2 cups (475ml) whole milkWhole milk is essential for creating a rich and creamy pudding, and can be substituted with a non-dairy milk alternative if needed
- 1 cup (240ml) heavy creamHeavy cream adds a luxurious texture to the pudding and can be substituted with a non-dairy whipped cream if needed
- 1/2 cup (100g) granulated sugarGranulated sugar is used to balance the flavor of the pudding and can be adjusted to taste
- 2 tablespoons (30g) gluten-free flour blendA gluten-free flour blend is essential for creating a smooth and even texture in the pudding, and should include a combination of rice flour, tapioca starch, and a binder like xanthan or psyllium
- 1/4 teaspoon saltSalt is used to balance the flavor of the pudding and can be adjusted to taste
- 1/2 teaspoon vanilla extractVanilla extract is essential for creating a delicious and authentic flavor in the pudding, and should be chosen for its high quality and purity
- 3 large egg yolksEgg yolks are used to thicken the pudding and create a rich and creamy texture, and should be fresh and of high quality
- 1/4 cup (60g) unsalted butter, meltedMelted butter is used to add flavor and texture to the pudding, and should be of high quality and freshness
- 1 teaspoon xanthan gumXanthan gum is used to help thicken the pudding and create a smooth and even texture, and should be chosen for its high quality and purity
- 1/2 cup (120g) chopped fresh fruit, for servingChopped fresh fruit is used to add flavor and texture to the pudding, and can be chosen based on personal preference and seasonal availability
Equipment You’ll Need
How to Make Vanilla Pudding
- 1In a medium saucepan, combine the milk, cream, sugar, and salt, and heat over medium heat, stirring occasionally, until the sugar has dissolved and the mixture is hot but not boiling, with a temperature of around 170-180°F (77-82°C)
- 2In a small bowl, whisk together the gluten-free flour blend and xanthan gum, and then gradually add the melted butter, whisking until smooth and well combined
- 3Gradually add the flour mixture to the milk mixture, whisking constantly to prevent lumps, and cook for an additional 2-3 minutes, or until the mixture has thickened and the temperature has reached 180-190°F (82-88°C)
- 4Remove the saucepan from the heat and stir in the vanilla extract, and then let the mixture cool slightly, to around 150-160°F (66-71°C)
- 5In a separate bowl, whisk together the egg yolks, and then gradually add the warm pudding mixture to the egg yolks, whisking constantly to prevent the eggs from scrambling
- 6Return the saucepan to the heat and cook over low heat, stirring constantly, until the pudding has thickened and the temperature has reached 170-180°F (77-82°C), with a doneness cue of a thick and creamy texture that coats the back of a spoon
- 7Remove the saucepan from the heat and strain the pudding into a clean bowl, to remove any lumps or egg solids
- 8Let the pudding cool to room temperature, and then cover and refrigerate for at least 2 hours, or until chilled and set
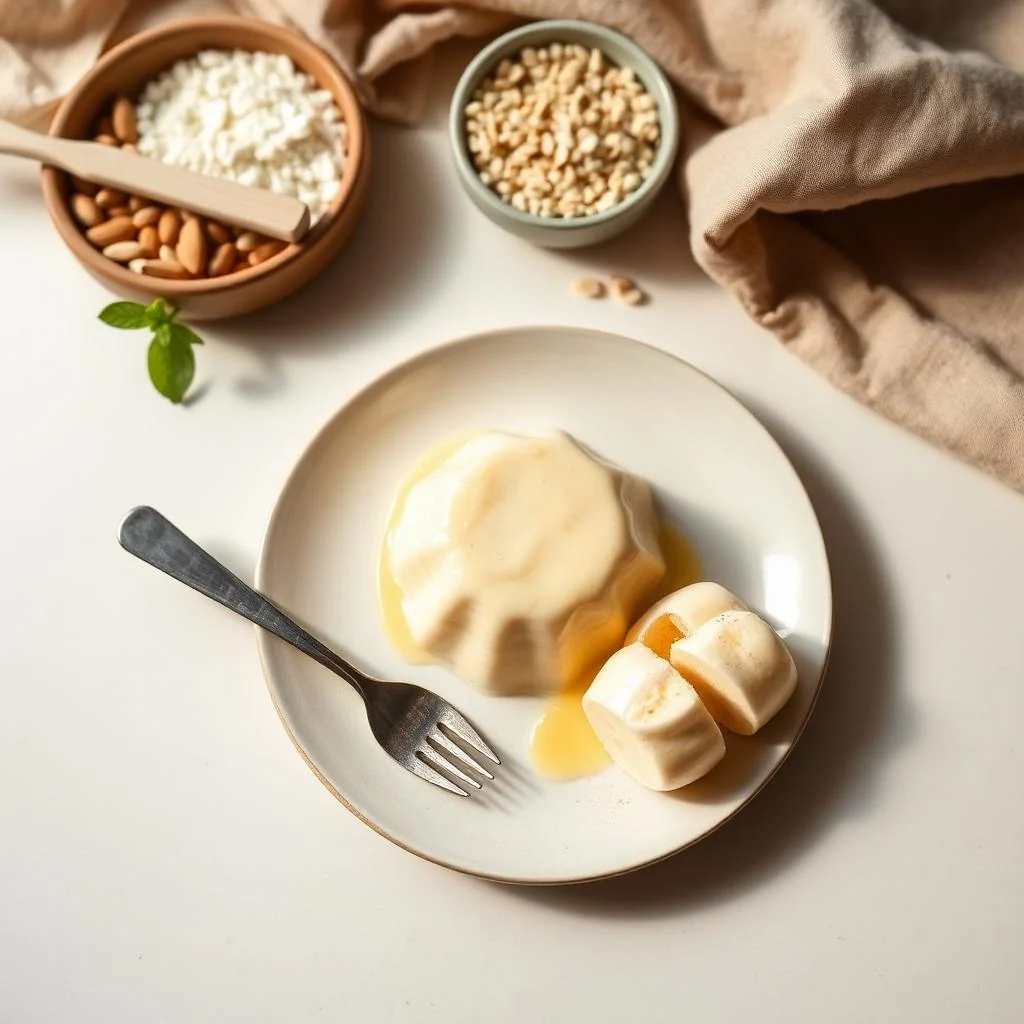
- 9Just before serving, top the pudding with chopped fresh fruit, and serve chilled, with a doneness cue of a firm and creamy texture
- 10If desired, garnish with additional fresh fruit or whipped cream, and serve immediately
Expert Tips
- Use high-quality ingredients, especially the vanilla extract and gluten-free flour blend, for the best flavor and texture
- Don't overcook the pudding, as it can become too thick and rubbery, with a doneness cue of a temperature above 180°F (82°C)
- Use a thermometer to ensure the pudding has reached the correct temperature, with a doneness cue of a thick and creamy texture that coats the back of a spoon
- Don't over-whisk the pudding, as it can become too thick and lumpy, with a doneness cue of a texture that is no longer smooth and creamy
- Let the pudding cool and chill before serving, as it will help the flavors to meld together and the texture to set, with a doneness cue of a firm and creamy texture
- Experiment with different flavorings and toppings to create unique and delicious variations, such as adding a pinch of salt or a sprinkle of cinnamon
- Use this pudding as a base for other desserts, such as trifles or cream puffs, with a doneness cue of a firm and creamy texture that holds its shape
Common Mistakes to Avoid
- Overcooking the pudding, which can cause it to become too thick and rubbery, with a doneness cue of a temperature above 180°F (82°C)
- Not using a thermometer, which can result in an undercooked or overcooked pudding, with a doneness cue of a temperature that is not within the correct range
- Not straining the pudding, which can result in a lumpy or grainy texture, with a doneness cue of a texture that is no longer smooth and creamy
- Not letting the pudding cool and chill, which can affect the texture and flavor, with a doneness cue of a texture that is not firm and creamy
- Using low-quality ingredients, which can affect the flavor and texture of the pudding, with a doneness cue of a flavor that is not rich and creamy
- Not whisking the pudding constantly, which can result in a lumpy or curdled texture, with a doneness cue of a texture that is no longer smooth and creamy
Variations and Substitutions
- Adding a pinch of salt to balance the flavor, with a doneness cue of a flavor that is rich and creamy
- Using different flavorings, such as almond or coconut extract, with a doneness cue of a flavor that is unique and delicious
- Adding a sprinkle of cinnamon or nutmeg for extra spice, with a doneness cue of a flavor that is warm and aromatic
- Using different types of milk, such as almond or soy milk, for a non-dairy version, with a doneness cue of a texture that is creamy and smooth
- Adding a layer of caramel or chocolate sauce for a decadent treat, with a doneness cue of a flavor that is rich and indulgent
- Using this pudding as a base for other desserts, such as trifles or cream puffs, with a doneness cue of a texture that is firm and creamy
What to Serve With Vanilla Pudding
This vanilla pudding is delicious on its own, but it's also a great base for other desserts. You can top it with fresh fruit, whipped cream, or even a sprinkle of cinnamon or nutmeg. It's also a great base for trifles, cream puffs, or other desserts that require a creamy and smooth pudding.
Some other ideas for serving this pudding include using it as a topping for cakes or pies, or as a filling for cream puffs or eclairs. You can also flavor it with different extracts, such as almond or coconut, for a unique and delicious twist.
Make-Ahead, Storage, Freezing and Reheating
This vanilla pudding can be stored in the refrigerator for up to 3 days, and can be frozen for up to 2 months. To freeze, simply place the pudding in an airtight container and store in the freezer. To thaw, simply place the pudding in the refrigerator overnight and serve chilled.
To make ahead, simply prepare the pudding and store it in the refrigerator until ready to serve. You can also make the pudding and then freeze it, and then thaw it when ready to serve. This is a great option for parties or special occasions, as it allows you to make the pudding ahead of time and then serve it when needed.
When storing the pudding, be sure to keep it in an airtight container and to label it with the date and contents. This will help to ensure that the pudding stays fresh and delicious, and that you can easily keep track of how long it has been stored.
Frequently Asked Questions
What type of milk can I use for this recipe?
You can use whole milk, 2% milk, or even a non-dairy milk alternative such as almond or soy milk. Just be sure to adjust the amount of sugar to taste, as some non-dairy milks can be quite sweet.
Can I use a different type of flour blend?
Yes, you can experiment with different types of flour blends to find one that works best for you. Just be sure to adjust the ratio of flours and the amount of xanthan gum as needed to achieve the right texture and flavor.
How long can I store the pudding in the refrigerator?
The pudding can be stored in the refrigerator for up to 3 days. Just be sure to keep it in an airtight container and to label it with the date and contents.
Can I freeze the pudding?
Yes, you can freeze the pudding for up to 2 months. Just be sure to place it in an airtight container and to label it with the date and contents.
What type of vanilla extract should I use?
You can use either pure vanilla extract or imitation vanilla extract. Just be sure to choose a high-quality extract that is free from additives and preservatives.
Can I make this pudding ahead of time?
Yes, you can make the pudding ahead of time and store it in the refrigerator until ready to serve. Just be sure to keep it in an airtight container and to label it with the date and contents.
How do I know when the pudding is done?
The pudding is done when it has thickened and the temperature has reached 170-180°F (77-82°C), with a doneness cue of a thick and creamy texture that coats the back of a spoon
Can I use this pudding as a base for other desserts?
Yes, this pudding is a great base for other desserts such as trifles, cream puffs, or eclairs. Just be sure to adjust the flavor and texture as needed to suit your desired dessert
Ingredients
- 2 cups (475ml) whole milk
- 1 cup (240ml) heavy cream
- 1/2 cup (100g) granulated sugar
- 2 tablespoons (30g) gluten-free flour blend
- 1/4 teaspoon salt
- 1/2 teaspoon vanilla extract
- 3 large egg yolks
- 1/4 cup (60g) unsalted butter, melted
- 1 teaspoon xanthan gum
- 1/2 cup (120g) chopped fresh fruit, for serving
Instructions
- In a medium saucepan, combine the milk, cream, sugar, and salt, and heat over medium heat, stirring occasionally, until the sugar has dissolved and the mixture is hot but not boiling, with a temperature of around 170-180°F (77-82°C)
- In a small bowl, whisk together the gluten-free flour blend and xanthan gum, and then gradually add the melted butter, whisking until smooth and well combined
- Gradually add the flour mixture to the milk mixture, whisking constantly to prevent lumps, and cook for an additional 2-3 minutes, or until the mixture has thickened and the temperature has reached 180-190°F (82-88°C)
- Remove the saucepan from the heat and stir in the vanilla extract, and then let the mixture cool slightly, to around 150-160°F (66-71°C)
- In a separate bowl, whisk together the egg yolks, and then gradually add the warm pudding mixture to the egg yolks, whisking constantly to prevent the eggs from scrambling
- Return the saucepan to the heat and cook over low heat, stirring constantly, until the pudding has thickened and the temperature has reached 170-180°F (77-82°C), with a doneness cue of a thick and creamy texture that coats the back of a spoon
- Remove the saucepan from the heat and strain the pudding into a clean bowl, to remove any lumps or egg solids
- Let the pudding cool to room temperature, and then cover and refrigerate for at least 2 hours, or until chilled and set
- Just before serving, top the pudding with chopped fresh fruit, and serve chilled, with a doneness cue of a firm and creamy texture
- If desired, garnish with additional fresh fruit or whipped cream, and serve immediately