Love this? Pin it for later! 📌
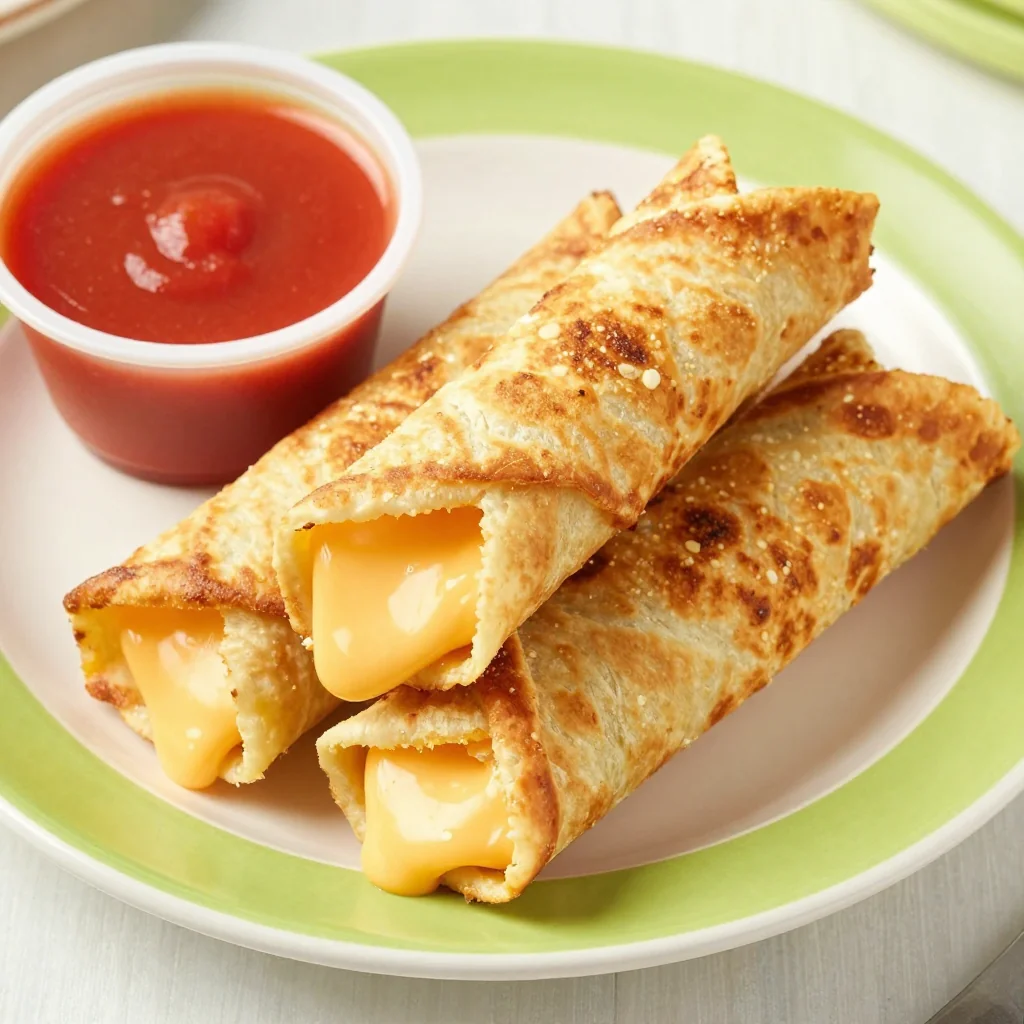
There’s something magical about the way a simple grilled cheese can turn even the pickiest eater into a lunchtime champion. I discovered these roll-ups on a rainy Tuesday when my six-year-old declared that “regular sandwiches are boring,” and I needed something that could fit in a thermos, survive the car-pool dash, and still taste like a warm hug. Enter: the grilled cheese roll-up—crispy edges, gooey center, and just the right size for little hands to dunk into tomato soup without wearing half of it home.
After months of testing (and more than a few burnt fingertips), I’ve landed on a method that’s fast enough for a 15-minute lunch break, fool-proof enough for a middle-schooler to make solo, and fun enough that my kids now beg to be on “roll-up duty” every Sunday while we prep the week’s meals. Whether you’re packing bento boxes, feeding a play-date brigade, or simply trying to jazz up a Wednesday, these spirals of buttery, cheesy joy are about to become your secret weapon.
Ingredients You'll Need
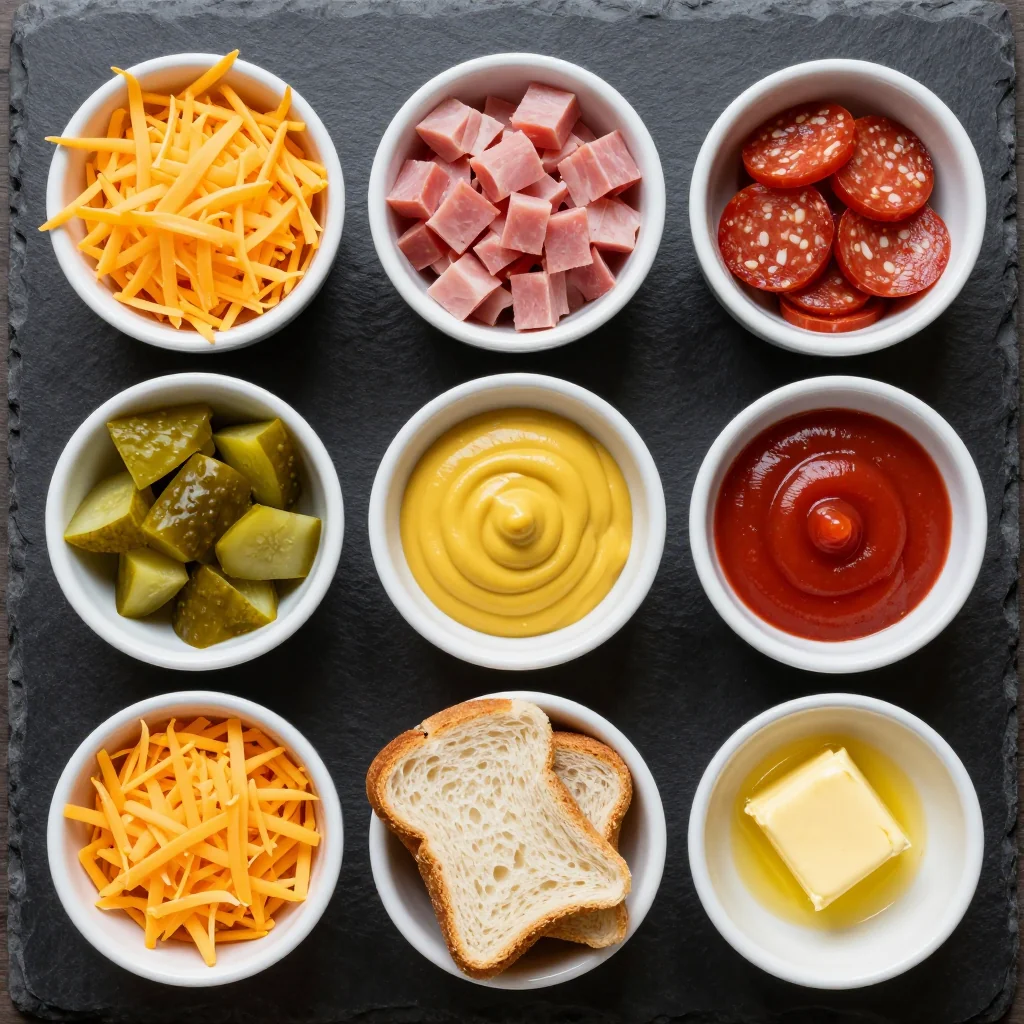
Great grilled cheese starts with great bread. Look for a soft, squishy white or whole-wheat sandwich loaf—nothing artisanal or crusty, because you need the flexibility to roll without cracks. I buy a “Texas toast” style for its ¾-inch thickness; it flattens beautifully and browns evenly. If you’re gluten-free, Schär’s white bread works, but you’ll want to microwave each slice for 6–7 seconds first to relax the starch.
Next, the cheese. I reach for a high-moisture mozzarella string cheese stick inside each roll-up; it melts in long, stretchy ribbons that kids adore. On the outside, a finely shredded mild cheddar creates that classic grilled-cheese flavor and a mottled golden crust. Pre-shredded is fine, but if you shred from a block you’ll avoid the anti-caking powders that can make the cheese seize rather than flow.
Butter is the final hero. Use softened, salted butter so you can spread paper-thin layers—too much and the roll-ups leak, too little and they dry out. For dairy-free families, Miyoko’s cultured oat butter browns almost identically to dairy butter and lends a subtle nutty note.
Optional extras: a whisper of garlic powder for grown-up palates, a pinch of Italian herbs for pizza vibes, or a smear of cream cheese to seal the seam and add extra creaminess.
Why This Recipe Works
- Rolling = Even Cheese-to-Bread Ratio: Every bite has the perfect melt, no sad cheeseless corners.
- Quick Cook Time: 90 seconds per side in a hot skillet—lunch is ready before the apple slices brown.
- Freezer-Friendly: Flash-freeze the roll-ups raw, then bag; cook from frozen in 4 minutes.
- No Leakage: String cheese stays put, so lunchboxes stay tidy.
- Customizable Shapes: Slice spirals into sushi-size pieces for bento or leave whole for dunking.
- Kid Confidence: Rolling and counting “1-2-3 flip” teaches basic kitchen skills without knives.
How to Make Kid-Friendly Grilled Cheese Roll-Ups for Lunch
Flatten the Bread
Remove crusts with a sharp knife or pizza cutter (save for homemade breadcrumbs). Place bread between two sheets of parchment and roll with a rolling pin until ⅛-inch thick. This compresses the crumb so it doesn’t spring back when you roll.
Spread the Butter
Flip the flattened slice so the side that was against the parchment (smoother) faces down. Using the back of a teaspoon, spread ½ teaspoon softened butter edge-to-edge on the rough side. This becomes the exterior, ensuring an even, golden crust.
Position the Cheese
Place one mozzarella stick horizontally at the bottom edge of the bread. Sprinkle 2 tablespoons shredded cheddar over the remaining surface; the shreds act like glue, fusing layers so the spiral stays intact when you bite.
Roll Tightly
Start at the cheese end and roll away from you, keeping tension like a yoga mat. Finish seam-side down. Gently compress the log for 5 seconds to seal; if the bread feels dry, dab the seam with a drop of water.
Preheat the Pan
Heat a heavy skillet (cast iron or non-stick) over medium-low for 2 minutes. A droplet of water should dance, not hiss. Consistent, gentle heat prevents the bread from browning before the cheese liquefies.
Grill Seam-Side First
Place roll-ups seam-side down in the dry pan (the buttered exterior needs direct contact). Press gently with a spatula for 10 seconds to fuse. Cook 90 seconds or until golden, then rotate a quarter-turn; repeat until all four sides are crisp.
Rest & Slice
Transfer to a cutting board and cool 2 minutes. This sets the cheese so it doesn’t ooze out when sliced. Use a serrated knife to cut 1-inch “sushi” pieces or serve whole with a side of marinara for dunking.
Expert Tips
Low & Slow Wins
Medium-low heat melts the cheese without scorching the butter. Resist the urge to crank the burner; patience equals uniform crunch.
Make-Ahead Magic
Assemble the night before, store covered in the fridge, then grill in the morning. Cold roll-ups hold their shape better and take only 30 extra seconds.
Pizza Cutter Trick
Use a pizza cutter to trim crusts and slice the finished roll-ups; no dragging, no squishing, perfect spirals every time.
Freeze Flat
Flash-freeze raw roll-ups on a parchment-lined sheet, then transfer to a bag. They’ll keep 3 months and cook from frozen in 4 minutes.
Butter vs Mayo
Swap butter for a thin swipe of mayo if you’re out; it browns beautifully and adds subtle tang that pairs with sharp cheddar.
Lunchbox Safety
Pack in a pre-heated thermos or insulated sleeve. The internal temp stays above the food-safety danger zone for up to 4 hours.
Variations to Try
- Pizza Roll-Ups: Add ½ teaspoon mini pepperoni and a pinch of Italian seasoning to the cheese layer. Serve with warm marinara.
- Sweet Apple-Cheddar: Lay two paper-thin apple slices on the cheese before rolling. The sweet-savory combo is surprisingly addictive.
- Veggie Boost: Spread 1 teaspoon carrot puree on the bread; it disappears visually but adds vitamin A and natural sweetness.
- Everything Bagel: After buttering, sprinkle ½ teaspoon Everything seasoning; press gently so the seeds stick and toast.
- Breakfast Twist: Swap mozzarella for a breakfast sausage link and brush with maple butter—perfect for brunchboxes.
Storage Tips
Refrigerate: Cool completely, layer in an airtight container with parchment between rows, and refrigerate up to 3 days. Reheat in a dry skillet over medium for 2 minutes per side or 350 °F oven for 6 minutes. Microwaves work in a pinch (20 seconds), but you’ll sacrifice crunch.
Freeze: Flash-freeze raw or cooked roll-ups on a tray until solid, then transfer to a labeled freezer bag. Cook from frozen 4–5 minutes per side, or thaw overnight and proceed with normal reheating. Best texture within 2 months.
Pack for School: Pre-heat a stainless thermos with boiling water for 5 minutes. Dump water, line with a paper towel to absorb condensation, add hot roll-ups, and seal. They’ll stay warm and crispy until noon.
Frequently Asked Questions

Kid-Friendly Grilled Cheese Roll-Ups for Lunch
Ingredients
Instructions
- Flatten: Trim crusts. Roll bread between parchment to ⅛-inch thickness.
- Butter: Spread ½ tsp butter on one side of each slice.
- Fill: Place one string cheese at the bottom edge; sprinkle 2 Tbsp cheddar over remaining surface.
- Roll: Roll tightly, seam-side down. Repeat.
- Grill: Heat skillet over medium-low. Grill roll-ups seam-side first, 90 seconds per side, until all 4 sides are golden.
- Rest: Cool 2 minutes, slice into 1-inch pieces or serve whole with soup.
Recipe Notes
For extra-crispy exteriors, sprinkle a pinch of shredded cheddar directly onto the skillet before placing the roll-up; the cheese forms a lacy crust.