Love this? Pin it for later! 📌
There's something magical about turning a classic dessert into the most decadent breakfast treat, especially when game day excitement is in the air. Picture this: it's 9 AM on NFL playoff Sunday, your living room is already buzzing with anticipation, and the aroma of rich cocoa and vanilla wafts through the house as these magnificent red velvet waffles crisp to perfection in your waffle iron. The deep crimson color mirrors your team's colors, while the cream cheese glaze drips luxuriously over each golden-brown square, creating a breakfast that's as visually stunning as it is delicious.
I created this recipe after years of hosting playoff parties where breakfast was always an afterthought—cold cereal, store-bought pastries, or worse, nothing at all until the second quarter. That all changed when my college roommate, a die-hard Chiefs fan, showed up at 8 AM with her famous red velvet cookies. The lightbulb moment hit: why not transform that beloved flavor into a breakfast worthy of the biggest games of the year? These waffles have since become our playoff tradition, whether we're screaming at the TV during divisional rounds or nervously pacing during the Super Bowl.
What makes these waffles truly special is how they capture everything we love about red velvet cake—the subtle cocoa flavor, the tender crumb, that gorgeous color—while being sturdy enough to hold up to generous toppings and syrupy drizzles. They're impressive enough to serve to guests who showed up in their jerseys at dawn, yet simple enough that you won't miss a single play while preparing them.
Why This Recipe Works
- Game Day Timing: The batter can be prepped the night before, so you only need 10 minutes of active cooking time on game morning
- Feed a Crowd: One batch makes 8 large Belgian waffles or 16 standard waffles—perfect for hungry football fans
- Make-Ahead Friendly: Cooked waffles freeze beautifully and reheat in the toaster for future game days
- Customizable Colors: Easily adjust the red food coloring to match your team's colors—think purple for Vikings or orange for Broncos
- Balanced Sweetness: The cocoa powder and buttermilk create a sophisticated flavor that isn't cloyingly sweet
- Texture Perfection: Cornstarch in the batter ensures extra crispy edges while maintaining a fluffy interior
- Special Occasion Worthy: These waffles feel celebratory and indulgent, perfect for the biggest games of the season
Ingredients You'll Need
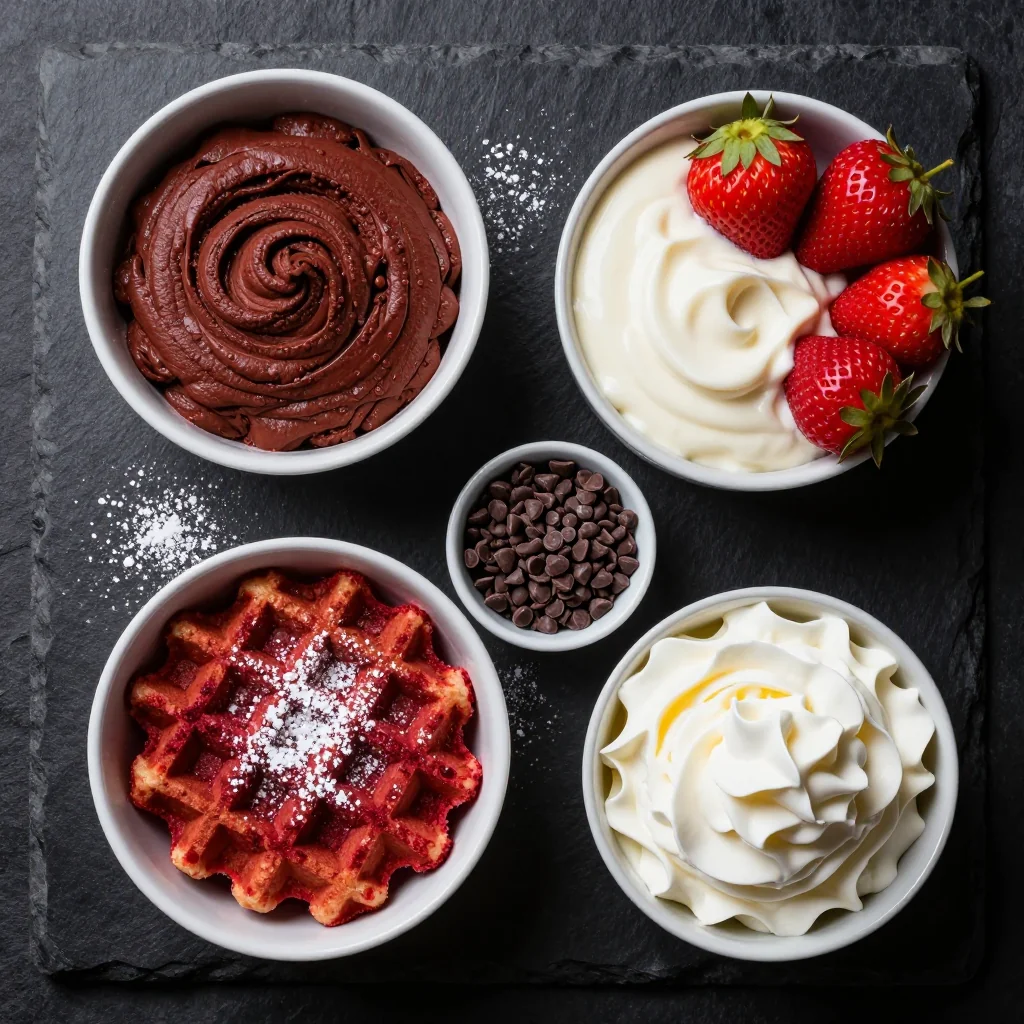
Great waffles start with understanding your ingredients. Each component plays a crucial role in creating that perfect red velvet flavor and texture that will have your guests asking for the recipe before halftime.
All-Purpose Flour (2 cups) - The foundation of our waffles. I recommend using a high-quality brand like King Arthur for consistent protein content. The flour provides structure and that satisfying waffle texture we're after. For extra tender waffles, you can substitute 1/4 cup of cake flour, but don't go overboard or your waffles won't have enough structure.
Natural Cocoa Powder (3 tablespoons) - Not Dutch-processed! Natural cocoa powder has a more intense, slightly bitter chocolate flavor that balances the sweetness perfectly. The acidity in natural cocoa also reacts with the buttermilk, helping create those fluffy waffles we crave. Hershey's natural cocoa works beautifully here.
Granulated Sugar (1/2 cup) - Just enough sweetness to complement the cocoa without overwhelming it. You might be tempted to reduce this, but don't—sugar helps with browning and creates that gorgeous crispy exterior that makes these waffles irresistible.
Baking Powder & Baking Soda (1 tablespoon & 1 teaspoon) - The dynamic duo for lift! The combination ensures maximum fluffiness. Make sure your leavening agents are fresh—test baking powder by adding a spoonful to hot water; it should bubble vigorously.
Salt (3/4 teaspoon) - Don't skip this! Salt enhances all the other flavors and prevents your waffles from tasting flat. I use kosher salt for its clean flavor.
Buttermilk (1 3/4 cups) - The secret to tender, tangy waffles. The acid in buttermilk tenderizes the gluten and creates a more tender crumb. No buttermilk? Make your own by adding 1 tablespoon of lemon juice or white vinegar to regular milk and let it sit for 5 minutes.
Eggs (2 large) - Room temperature eggs incorporate better and create a more uniform batter. The proteins in eggs provide structure, while the yolks add richness and that beautiful golden color.
Unsalted Butter (6 tablespoons, melted) - Adds richness and helps create crispy edges. I prefer unsalted so I can control the salt level. Brown the butter for an extra nutty flavor that complements the cocoa beautifully.
Vanilla Extract (2 teaspoons) - Pure vanilla extract enhances all the other flavors. Don't use imitation vanilla here—you want that deep, complex flavor that pure extract provides.
Red Food Coloring (2-3 tablespoons) - This is where the magic happens! Use gel food coloring for the most vibrant color without adding too much liquid. Americolor Super Red is my go-to for that perfect red velvet hue.
White Vinegar (1 teaspoon) - This tiny amount brightens all the flavors and reacts with the baking soda for extra lift. Don't worry, you won't taste it!
How to Make Indulgent Red Velvet Waffles for NFL Playoff Game Day Breakfast
Prep Your Station
Start by preheating your waffle iron to medium-high heat. While it's heating, set up your workspace: measure all ingredients, melt your butter and let it cool slightly, crack eggs into a small bowl, and set out your mixing bowls. This mise en place approach ensures you won't miss a play while scrambling for ingredients. Position your waffle iron near the TV if possible—I've found that's the best way to stay engaged with both the game and the cooking process.
Combine Dry Ingredients
In a large mixing bowl, whisk together the flour, cocoa powder, sugar, baking powder, baking soda, cornstarch, and salt. Sift the cocoa powder if it's lumpy—you want it fully incorporated for even chocolate flavor throughout. This step is crucial because it ensures your leavening agents are evenly distributed, preventing any unfortunate dense spots in your waffles.
Mix Wet Ingredients
In a separate bowl, whisk together the buttermilk, eggs, melted butter, vanilla extract, red food coloring, and vinegar until completely combined. The mixture should be a vibrant red and slightly thick. If you're using gel food coloring, start with less and add more until you achieve that signature red velvet color. The vinegar might seem odd, but it's essential for the chemical reaction that creates perfect texture.
Create the Batter
Pour the wet ingredients into the dry ingredients and gently fold with a rubber spatula until just combined. The key here is to stop mixing as soon as you no longer see dry flour streaks. Lumps are not only okay—they're essential for tender waffles. Overmixing develops gluten, resulting in tough, chewy waffles that nobody wants on game day. The batter should be thick but pourable, similar to a slightly thin pancake batter.
Rest the Batter
Let the batter rest for 10-15 minutes while your waffle iron continues heating. This rest period allows the flour to fully hydrate and the gluten to relax, resulting in more tender waffles. It's also the perfect time to make your cream cheese glaze or set up your toppings station. Don't skip this step—it makes a significant difference in the final texture.
Cook Perfect Waffles
Lightly grease your hot waffle iron with non-stick spray or a thin layer of butter. Pour about 3/4 cup of batter onto the center of the iron (adjust based on your waffle iron size), close the lid, and cook for 4-5 minutes until the waffles are deep golden brown and crisp. Don't lift the lid too early—let the magic happen! The waffles should release easily when done. If they stick, they need another minute.
Keep Warm Strategy
Preheat your oven to 200°F and place a wire rack on a baking sheet. Transfer cooked waffles directly to the rack—not a plate, which creates steam and soggy bottoms. This method keeps waffles warm and crispy for up to 30 minutes, perfect for serving a crowd during a long game. Never stack waffles while warm; the steam will make them lose their delightful crispness.
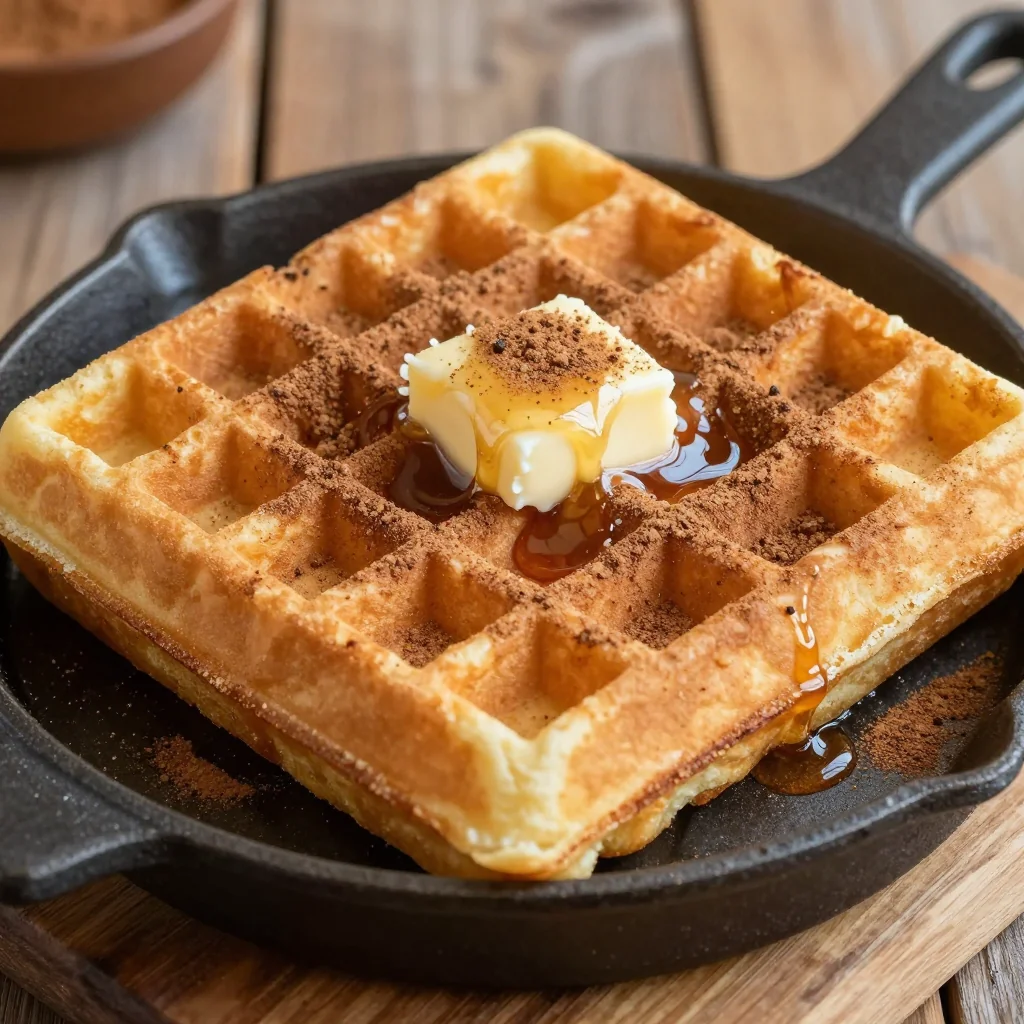
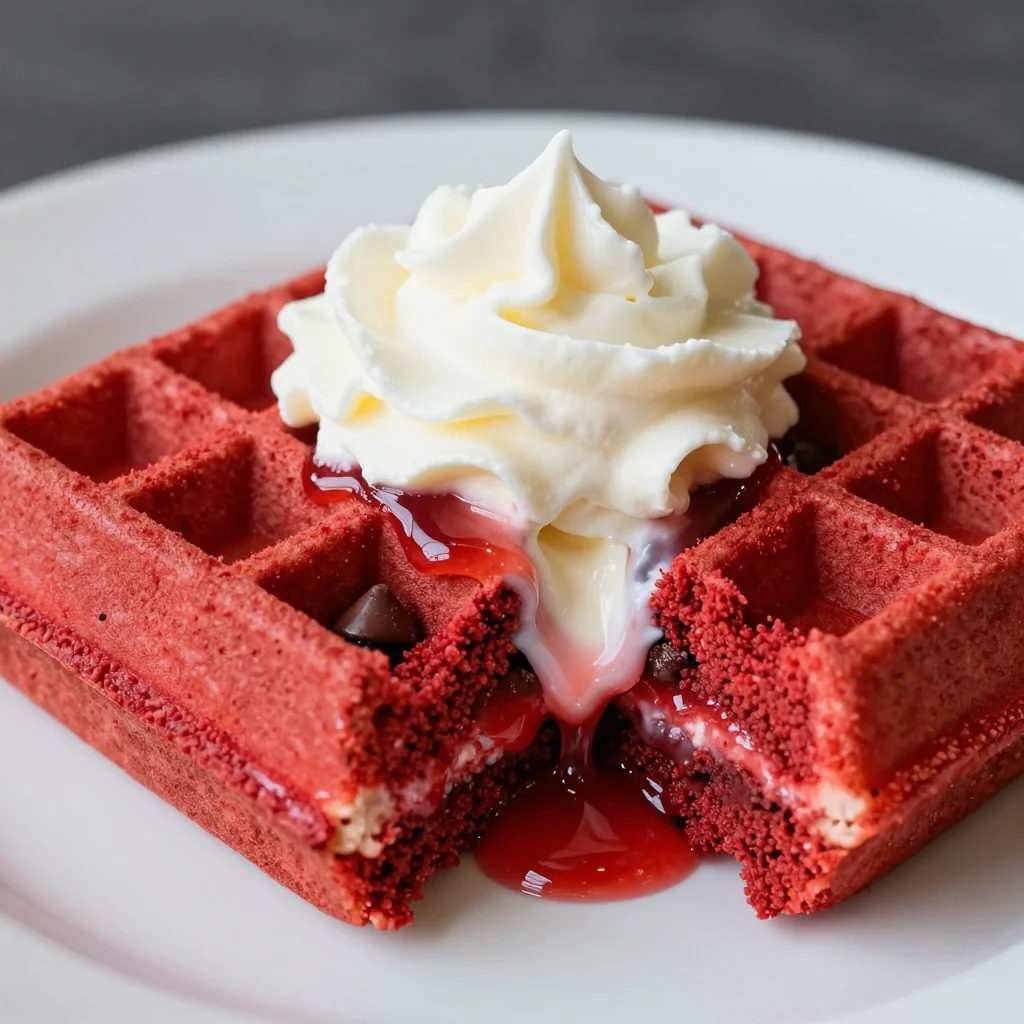
Serve Immediately
These waffles are best served hot from the iron or from your warming station. Drizzle with cream cheese glaze, dust with powdered sugar, or serve with a pat of butter and warm maple syrup. For the full red velvet experience, I recommend the cream cheese glaze—it's what takes these from great waffles to absolutely unforgettable game day breakfast.
Expert Tips
Temperature Control
Every waffle iron is different. Start at medium heat and adjust based on your first waffle. Too hot and they'll burn before cooking through; too cool and they'll be pale and soggy. The sweet spot is usually medium-high, but let the color be your guide.
Color Customization
Support your team by adjusting the food coloring! Use purple and gold for Vikings, orange and blue for Broncos, or green and yellow for Packers. The cocoa powder helps deepen these colors, creating team-perfect waffles without artificial taste.
Overnight Prep
Mix dry ingredients in one container, wet in another, refrigerate separately. In the morning, simply combine and cook. The flavors actually meld overnight, creating deeper, more complex taste. Perfect for those early playoff games!
Freezer Success
Cook extra waffles and freeze between sheets of parchment paper. Reheat in the toaster for 2-3 minutes until crispy. They'll taste fresh-baked and are perfect for those unexpected playoff games or weekday mornings when you need a win.
Browning Control
If your waffles are browning too quickly but aren't cooked through, lower the heat slightly and increase cooking time. The red color can make it tricky to judge doneness by color alone—look for the steam decreasing and the waffle releasing easily from the iron.
Glaze Consistency
For the perfect cream cheese glaze consistency, let your cream cheese soften completely and use room temperature milk. If it's too thick, add milk a teaspoon at a time. Too thin? Add more powdered sugar. The glaze should ribbon off a spoon.
Variations to Try
Red Velvet Chocolate Chip
Fold in 3/4 cup mini chocolate chips to the batter just before cooking. The mini chips distribute more evenly than regular chips, creating little pockets of melted chocolate in every bite. Reserve some for sprinkling on top of the cooked waffles.
Best with: Cold milk or hot coffeePeanut Butter Swirl
Warm 1/2 cup peanut butter in the microwave for 20 seconds until pourable. Drizzle over each waffle before closing the iron. The peanut butter creates a marbled effect and adds protein to keep fans satisfied through overtime.
Best with: Banana slices and honeyCinnamon Roll Style
Mix 2 tablespoons softened butter with 2 tablespoons brown sugar and 1 teaspoon cinnamon. Drop small dollops onto each waffle before closing the iron. The filling creates a cinnamon swirl reminiscent of everyone's favorite breakfast pastry.
Best with: Cream cheese glaze and chopped pecansSavory Red Velvet
Reduce sugar to 2 tablespoons and add 1/2 cup shredded sharp cheddar and 2 tablespoons chopped chives to the batter. Serve with fried chicken for the ultimate game day chicken and waffles. The red color adds visual drama to this classic combination.
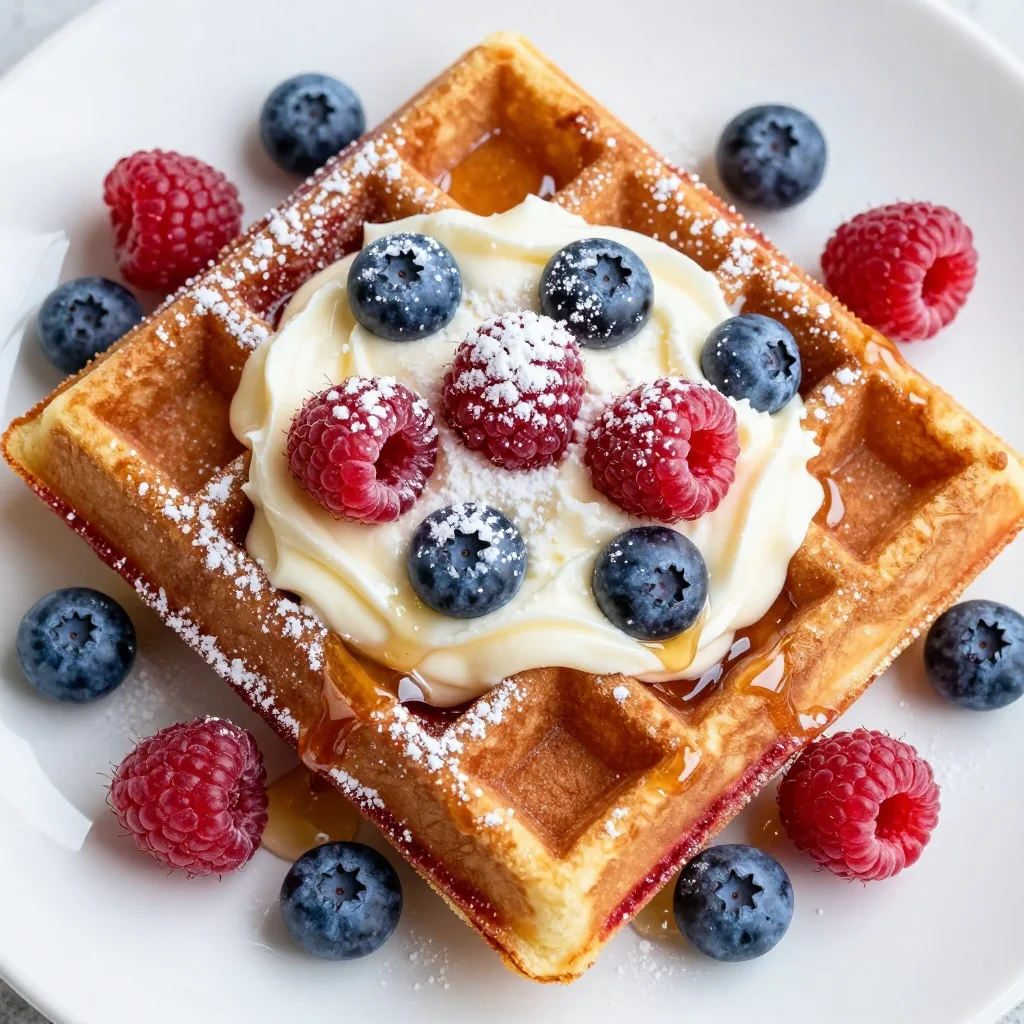
Best with: Hot sauce and honeyBerry Red Velvet
Fold in 1 cup fresh or frozen raspberries during the last mixing step. The tart berries create beautiful color contrast and cut through the richness. Frozen berries work well—just don't thaw them first or they'll turn your batter purple.
Best with: Whipped cream and fresh mintPumpkin Spice Velvet
Replace 1/2 cup buttermilk with pumpkin puree and add 1 teaspoon pumpkin pie spice. Reduce food coloring to 1 tablespoon. Perfect for playoff games in November, combining two beloved flavors into one spectacular breakfast.
Best with: Maple syrup and toasted pecansStorage Tips
Refrigerator Storage
Cooked waffles can be stored in the refrigerator for up to 5 days. Let them cool completely, then place in an airtight container with parchment paper between layers to prevent sticking. Reheat in a toaster or toaster oven for best results—microwaving makes them rubbery.
Pro tip: Undercook waffles by 30 seconds if you plan to refrigerate them. Finish cooking during reheating for the freshest taste and texture.
Freezer Instructions
These waffles freeze beautifully for up to 3 months. Cool completely, then freeze in a single layer on a baking sheet for 2 hours. Transfer to freezer bags with parchment paper between layers. Label with the date and reheat from frozen in the toaster for 3-4 minutes until hot and crispy.
Batch cooking: Double or triple the recipe and freeze extras. You'll thank yourself during busy weekday mornings or unexpected playoff games when you need breakfast in minutes.
Batter Make-Ahead
The batter can be made up to 24 hours ahead and stored in an airtight container in the refrigerator. The acid in the buttermilk will continue to tenderize the flour, resulting in even more tender waffles. Stir gently before using, as some separation is normal.
Game day strategy: Mix batter the night before the big game. In the morning, just heat your waffle iron and start cooking while the pre-game show is on.
Frequently Asked Questions
Yes, but they won't have the signature red velvet look. The flavor remains the same, though you might notice a slight brownish tint from the cocoa. For natural coloring, try beet powder (start with 2 tablespoons) or hibiscus powder. Keep in mind that natural alternatives won't produce the vibrant red color, but they're perfect if you're avoiding artificial colors.
Sticking usually means either your iron isn't hot enough or it needs more greasing. Make sure your waffle iron is fully preheated—most irons have an indicator light. Use a pastry brush to apply a thin layer of oil or melted butter between each waffle. Also, ensure your waffles are cooking long enough; premature opening causes sticking. If problems persist, check if your waffle iron's non-stick coating is worn.
While buttermilk is ideal for flavor and texture, you can substitute with a DIY version. Add 1 tablespoon of lemon juice or white vinegar to regular milk and let it sit for 5 minutes before using. For even better results, use 3/4 cup plain yogurt mixed with 1 cup milk. The acid is crucial for activating the baking soda and creating tender waffles, so don't use plain milk without adding acid.
While buttermilk is ideal for flavor and texture, you can substitute with a DIY version. Add 1 tablespoon of lemon juice or white vinegar to regular milk and let it sit for 5 minutes before using. For even better results, use 3/4 cup plain yogurt mixed with 1 cup milk. The acid is crucial for activating the baking soda and creating tender waffles, so don't use plain milk without adding acid.
Most waffle irons indicate doneness with a light or beep, but with red velvet waffles, visual cues are trickier due to the dark color. Look for these signs: steam decreasing significantly, the waffle releasing easily when you lift the lid, and a deep golden-brown color around the edges. The first waffle is always your test—adjust time based on how it turns out.
Absolutely! This recipe doubles and even triples beautifully. Mix the batter in a very large bowl or divide between two bowls. The only limitation is your waffle iron capacity. For large gatherings, I recommend having two waffle irons going simultaneously. You can also make all waffles ahead and keep them warm in a 200°F oven on a wire rack for up to 30 minutes.
The toaster is your best friend for reheating! Toast on medium setting for 2-3 minutes until hot and crispy. For frozen waffles, no need to thaw—just add an extra minute. Oven reheating works too: place on a wire rack in a 350°F oven for 5-7 minutes. Avoid the microwave unless you enjoy rubbery waffles. An air fryer at 350°F for 3-4 minutes also works wonderfully!
Indulgent Red Velvet Waffles for NFL Playoff Game Day Breakfast
Ingredients
Instructions
- Prep Station: Preheat waffle iron to medium-high heat. Set up workspace with all ingredients measured and ready.
- Mix Dry: In a large bowl, whisk together flour, cocoa powder, sugar, baking powder, baking soda, cornstarch, and salt.
- Combine Wet: In another bowl, whisk buttermilk, eggs, melted butter, vanilla, food coloring, and vinegar until smooth.
- Create Batter: Pour wet ingredients into dry and gently fold until just combined. Don't overmix—lumps are okay!
- Rest: Let batter sit for 10-15 minutes while waffle iron heats completely.
- Cook: Grease hot waffle iron. Pour 3/4 cup batter per waffle and cook 4-5 minutes until golden brown.
- Serve: Keep cooked waffles warm on a wire rack in 200°F oven. Serve hot with cream cheese glaze.
Recipe Notes
For the cream cheese glaze, beat 4 oz softened cream cheese with 2 tablespoons softened butter until smooth. Add 1 cup powdered sugar and 2-3 tablespoons milk until pourable consistency. Add 1 teaspoon vanilla extract. The batter can be made 24 hours ahead and stored in the refrigerator.