Picture this: a Sunday afternoon, the kitchen smelling of burnt toast, and a sudden craving for something sweet and tangy. I had just burned a batch of pancakes, and the only thing that could lift the mood was a quick burst of citrus and coconut. I grabbed my pantry, and the idea struck me like a lightning bolt—lime‑coconut bites, but with a twist that would make my taste buds dance. I dare you to taste this and not go back for seconds.
I’m not just talking about any lime‑coconut snack; this version is a revelation. The first bite releases a wave of bright lime zest, followed by a silky honey glaze that clings to the shredded coconut like a summer breeze. The texture is airy yet chewy, a perfect counterpoint to the sweet, buttery mouthfeel of the coconut. I’ll be honest—I ate half the batch before anyone else got to try it.
What sets this recipe apart is the meticulous balance of flavors and textures. The honey isn’t just a sweetener; it’s a binder that gives the bites a subtle caramelized finish when toasted. The coconut oil elevates the coconut’s natural flavor without overpowering the citrus. And the lime zest? It’s the secret that keeps the mixture bright and prevents the sweetness from becoming cloying. Most recipes get this completely wrong—here’s what actually works.
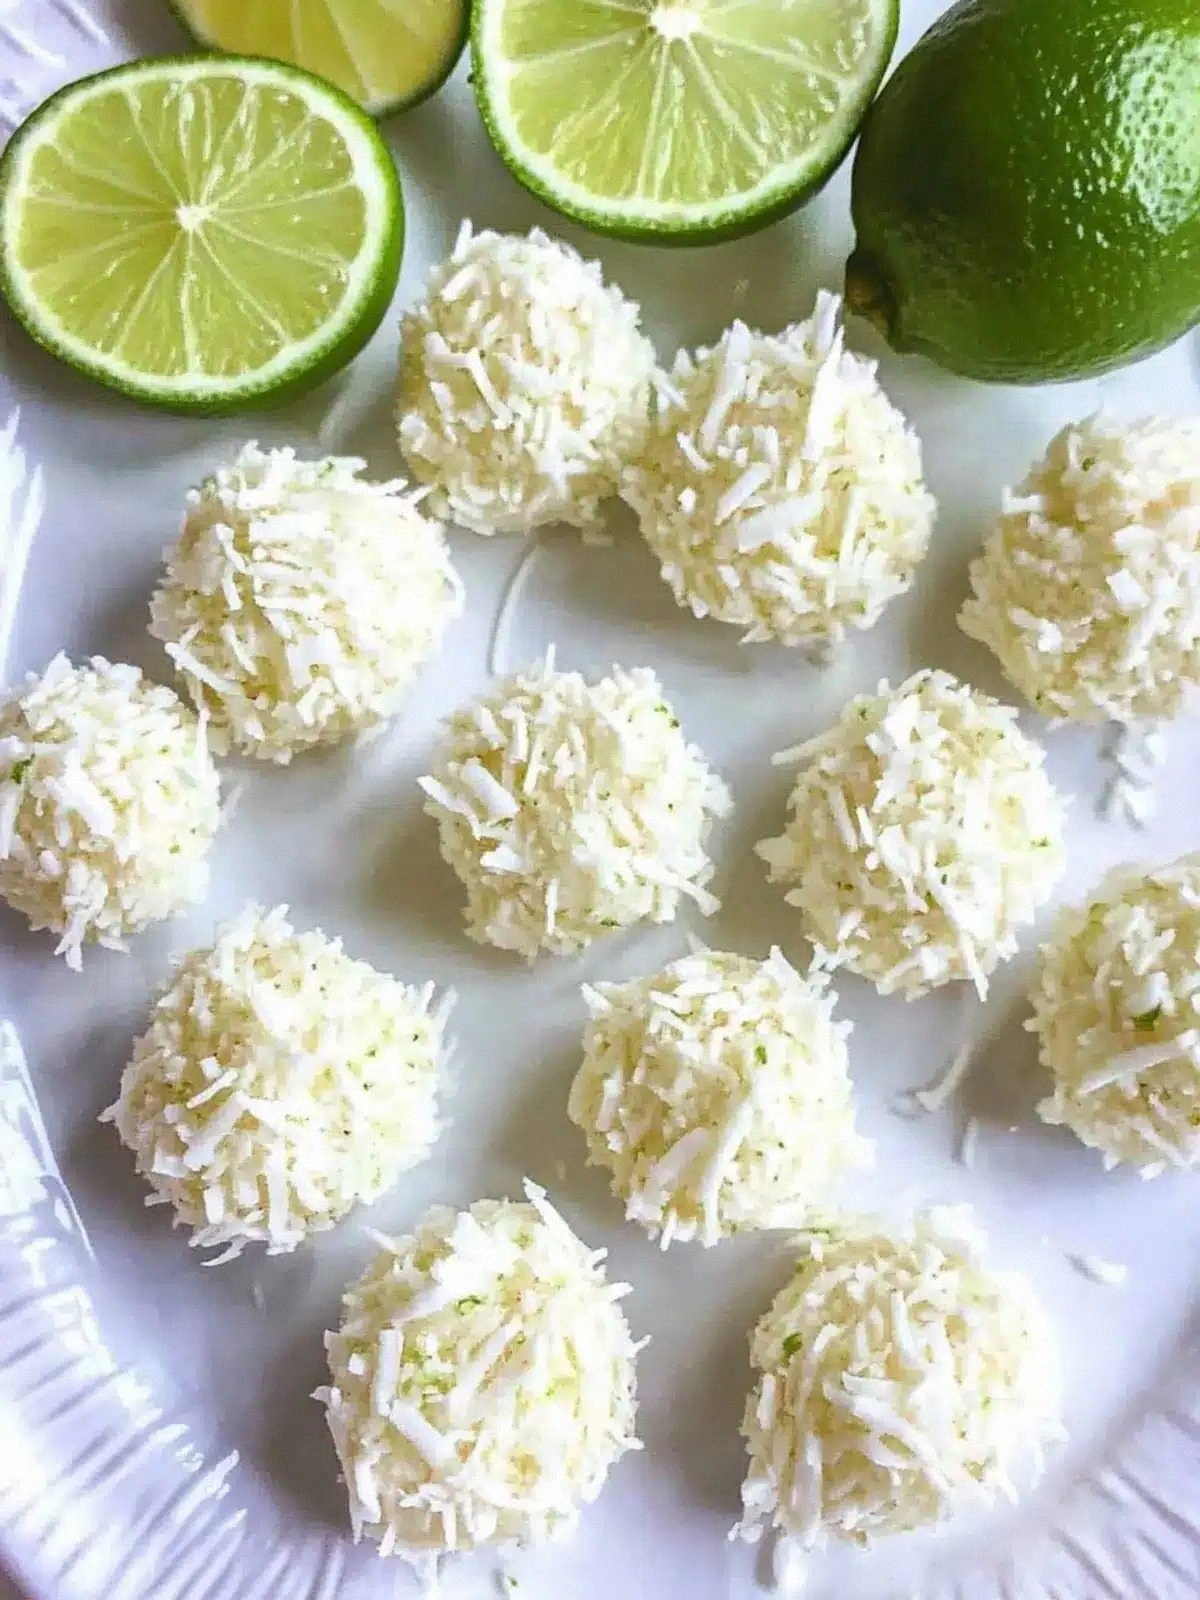
So, if you’ve ever struggled to combine coconut and lime into a single, cohesive treat, you’re not alone—and I’ve got the fix. This is hands down the best version you’ll ever make at home. Picture yourself pulling these out of the pan, the whole kitchen smelling incredible, and a plate of golden, glossy bites waiting for you. Let me walk you through every single step — by the end, you’ll wonder how you ever made it any other way.
What Makes This Version Stand Out
- Flavor: The lime juice is fresh, not bottled, giving a clean, bright punch that cuts through the richness of coconut. The honey’s floral undertones add depth without masking the citrus.
- Texture: The shredded coconut’s fine, dry texture creates a crisp exterior when toasted, while the honey glaze keeps the interior soft and chewy.
- Ease: No need for a mixer or a stand, just a skillet and a wooden spoon. The entire process takes less than 30 minutes.
- Versatility: Serve as a snack, dessert, or an elegant party garnish. The bite‑size format makes it perfect for any occasion.
- Ingredient Quality: Using unsweetened shredded coconut keeps the recipe low in added sugars, while the honey provides natural sweetness.
- Make‑ahead: Once cooled, these bites keep wonderfully in an airtight container for up to a week.
- Visual Appeal: The glossy honey coating and the specks of lime zest create a striking contrast that looks as good as it tastes.
Alright, let's break down exactly what goes into this masterpiece...
Inside the Ingredient List
The Flavor Base
Unsweetened shredded coconut is the star that carries the lime’s bright notes. It’s light enough to stay airy yet dense enough to hold the honey glaze. Skip it, and you’ll lose that signature coconut crunch. If you’re avoiding coconut, try finely chopped toasted almonds for a nutty twist.
The Sweet Binder
Honey isn’t just a sweetener; it’s a natural humectant that keeps the bites moist. A 1/3 cup amount is enough to bind the coconut without drowning it. If you prefer a lower glycemic index, switch to agave nectar or maple syrup, but adjust the amount to match the viscosity.
The Fat Component
Coconut oil is chosen for its high smoke point and subtle coconut flavor that complements the shredded coconut. Two tablespoons are sufficient to give the mixture a silky sheen. If you’re vegan, a neutral oil like grapeseed or sunflower works, but the flavor profile will shift slightly.
The Citrus Punch
Fresh lime juice delivers a clean acidity that balances the honey’s sweetness. The 1/4 cup is a sweet spot that keeps the bites bright without making them tart. If you can’t find fresh limes, a splash of fresh lemon juice can be a substitute, but the flavor will be more citrusy.
The Final Flourish
Lime zest adds a fragrant aroma and a pop of color. One tablespoon is enough to coat the mixture lightly. If you’re allergic to citrus, consider adding a pinch of grated orange zest for a sweeter twist.
Everything's prepped? Good. Let's get into the real action...
The Method — Step by Step
- Step 1: Prep the Pan. Heat a non‑stick skillet over medium heat. Add the coconut oil and let it melt until shimmering. This step is crucial because it prevents the mixture from sticking. The oil also adds a subtle toasted flavor.
- Step 2: Combine Coconut and Honey. In a bowl, mix the shredded coconut with the honey until every grain is coated. The honey should be warm enough to flow but not hot enough to burn. This creates a sticky, yet manageable mixture.
- Step 3: Add Lime Juice. Pour the fresh lime juice over the coconut-honey blend, stirring continuously. The acidity will slightly loosen the mixture, making it easier to spread in the skillet. Watch the color change; it should become a golden amber.
- Step 4: Sprinkle Lime Zest. Add the lime zest and stir until evenly distributed. The zest releases essential oils that enhance the citrus aroma. Be careful not to over‑whisk, or you’ll release the bitter pith.
- Step 5: Toast the Mixture. Pour the entire mixture into the hot skillet and spread it into an even layer. Let it cook for 3-4 minutes on one side, then flip. Watch the edges begin to pull away; that’s your cue.
- Step 6: Flip and Finish. Flip the mixture and cook for another 2-3 minutes. The top should develop a slight crust while the inside remains moist. This is the moment of truth; the aroma will be irresistible.
- Step 7: Cool and Cut. Remove from heat and let the mixture cool for 5 minutes. While still warm, cut into bite‑sized squares or use a cookie cutter for fun shapes. The warm cut will create crisp edges.
- Step 8: Let Them Set. Place the cut pieces on a parchment‑lined tray and let them set for 10-15 minutes. The honey glaze will firm up, giving the bites a glossy finish.
- Step 9: Serve or Store. Serve immediately for maximum freshness or store in an airtight container for up to a week. The bites retain their texture and flavor when kept at room temperature.
- Step 10: Enjoy. Take a bite, feel the honey melt, the lime zing, and the coconut crunch. Repeat as often as you like; you’ll find yourself reaching for the next bite before you even finish the first plate.
That's it — you did it. But hold on, I've got a few more tricks that'll take this to another level...
Insider Tricks for Flawless Results
The Temperature Rule Nobody Follows
Many people cook on high heat, causing the honey to caramelize too quickly and the coconut to burn. Keep the skillet on medium and monitor the color. The mixture should turn a light amber before flipping. This slow approach ensures even cooking and a silky finish.
Why Your Nose Knows Best
Trust your sense of smell. As the mixture cooks, you’ll notice a sweet, citrusy aroma that signals the right time to flip. If it smells like burnt sugar, lower the heat immediately. A well‑aromatized batch will taste more balanced.
The 5-Minute Rest That Changes Everything
Letting the mixture rest for five minutes before cutting allows the honey glaze to set. This gives the bites a crisp edge and prevents them from sticking together. Skipping this step often results in a gummy texture.
The Perfect Pan Size
Use a 10-inch skillet for even heat distribution. A smaller pan can cause hotspots that burn the edges. If you don’t have a 10-inch pan, a 12-inch can work but adjust the heat accordingly.
The Secret to a Glowing Finish
After flipping, give the top a quick brush with a little extra honey. This creates a glossy sheen that looks as good as it tastes. Just a thin layer—don’t overload or the glaze will run.
Creative Twists and Variations
This recipe is a playground. Here are some of my favorite ways to switch things up:
Coconut‑Chocolate Fusion
After step 6, drizzle melted dark chocolate over the top before setting. The chocolate adds a rich depth that pairs beautifully with the lime. Ideal for a dessert crowd.
Spicy Lime Kick
Add a pinch of cayenne pepper to the mixture before cooking. The heat balances the sweetness and gives a surprising twist. Great for adventurous palates.
Nutty Crunch
Fold in chopped toasted pecans or walnuts after step 3. The nuts add texture and a buttery flavor that complements the coconut. Perfect for a snack bar.
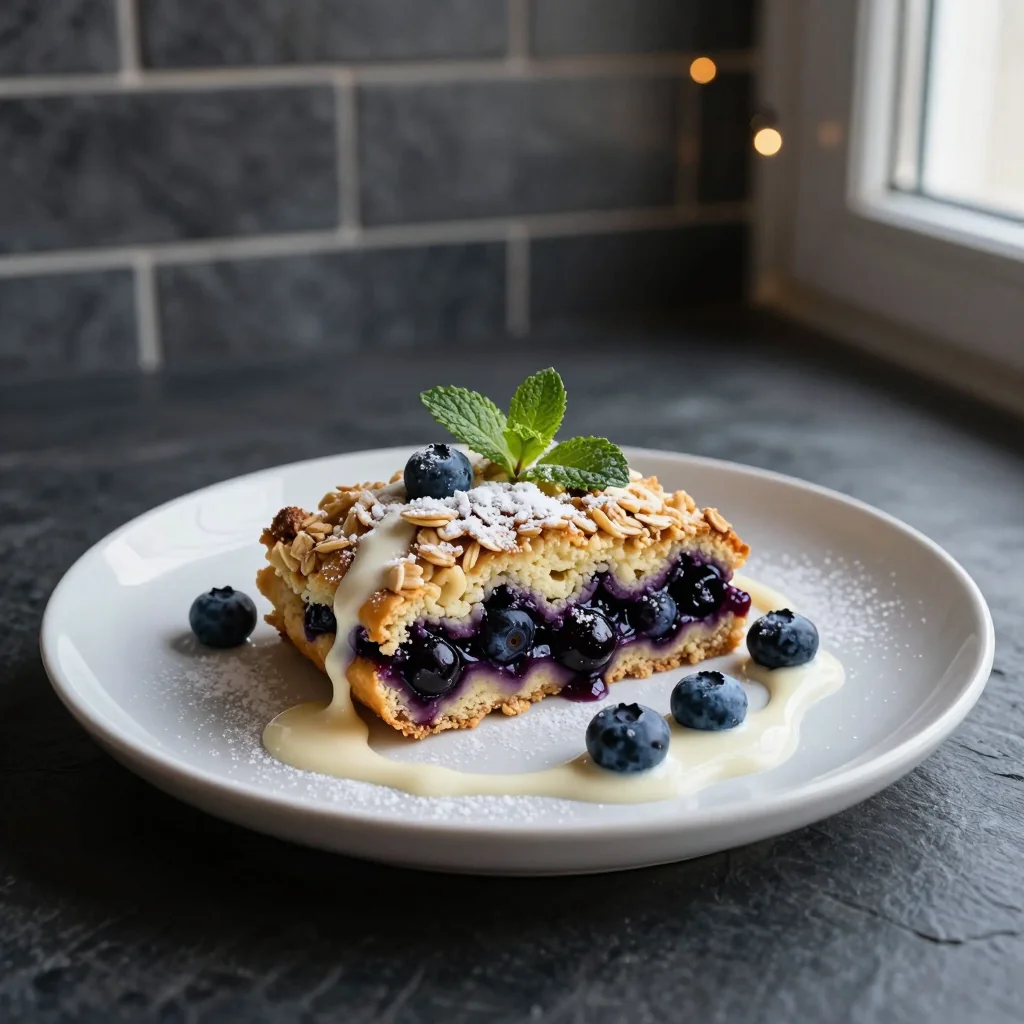
Berry Burst
Top the set bites with fresh raspberries or blueberries for a burst of color and acidity. The berries soak into the honey glaze, creating a multi‑layered flavor profile.
Savory Twist
Replace honey with a savory reduction of soy sauce and brown sugar. Add a dash of smoked paprika for a smoky undertone. Serve as an appetizer with a side of guacamole.
Almond‑Lemon Delight
Swap lime for lemon juice and zest, and add finely chopped almonds. The lemon’s brightness and the almond’s nuttiness make a refreshing treat for a brunch spread.
Storing and Bringing It Back to Life
Fridge Storage
Place the cooled bites in an airtight container and store in the refrigerator for up to 5 days. The honey glaze will keep them moist and flavorful. Avoid stacking to prevent crushing.
Freezer Friendly
For longer storage, freeze the bites in a single layer on a parchment sheet, then transfer to a freezer bag. They’ll last up to 3 months. When you’re ready, thaw at room temperature for 15 minutes.
Best Reheating Method
Reheat in a 350°F oven for 5 minutes or microwave on low power for 20 seconds. Add a tiny splash of water before reheating to create steam and restore the glaze’s shine. The result is a warm, freshly‑baked bite.